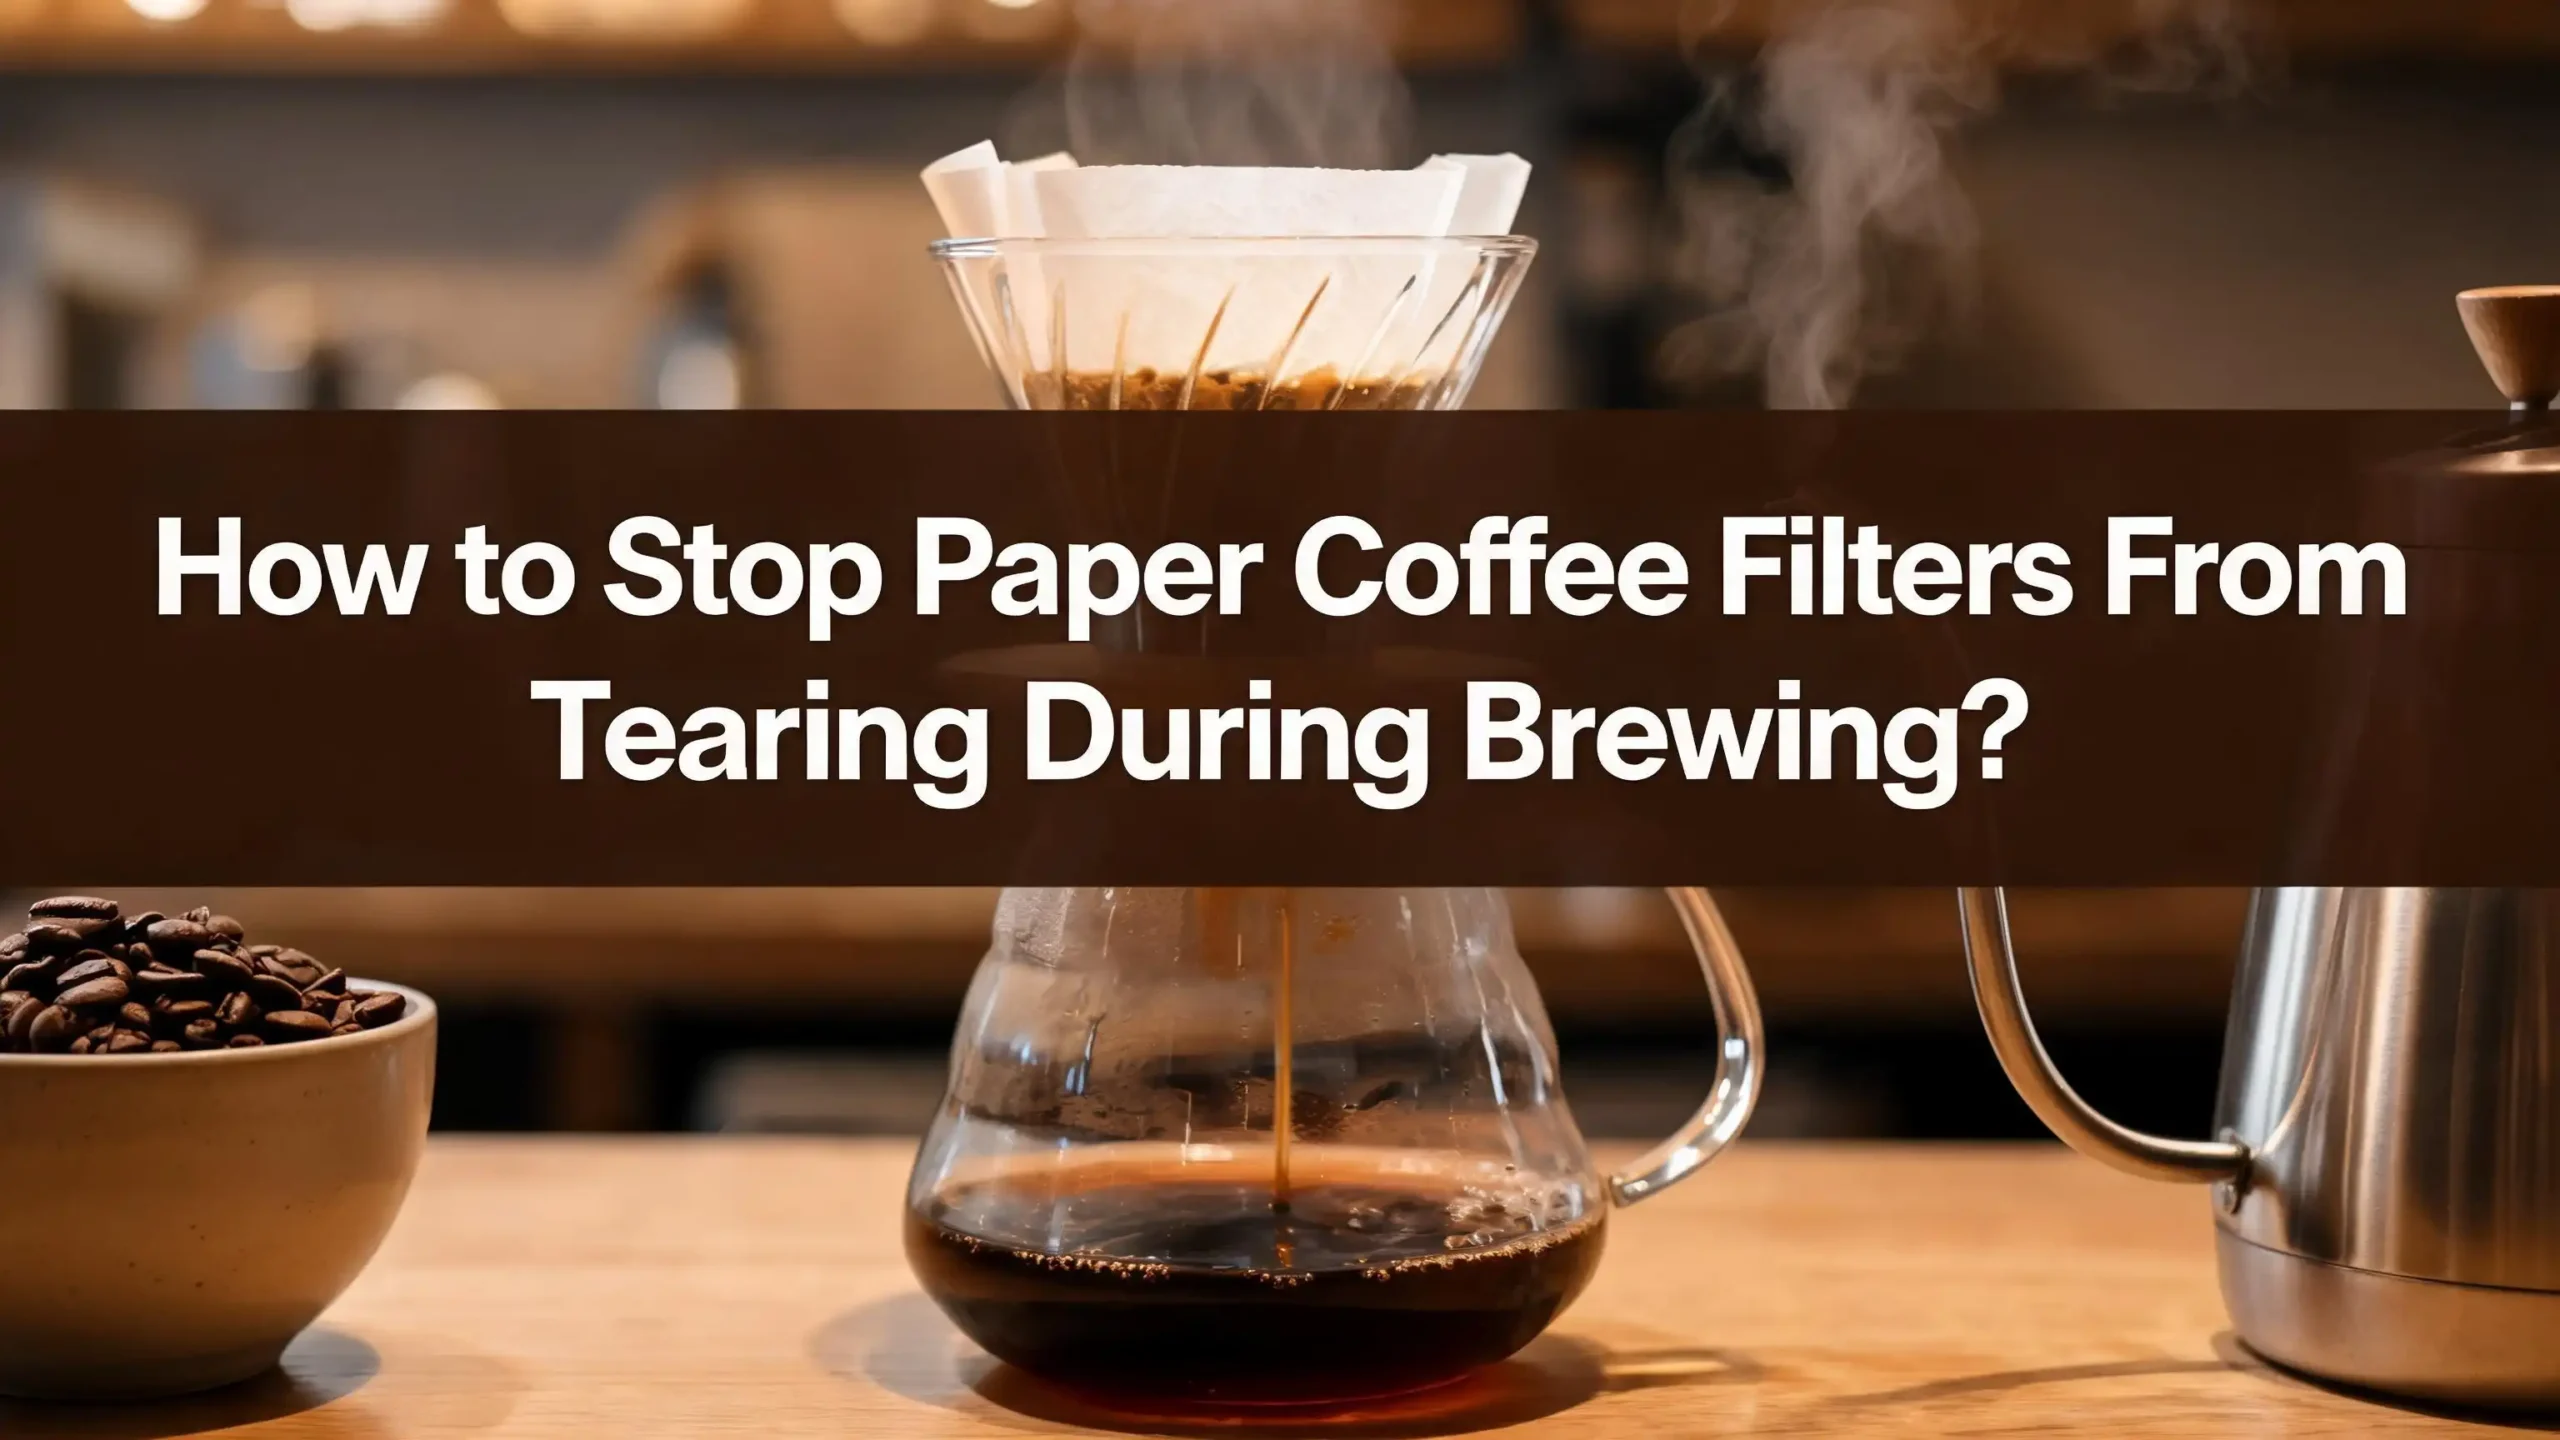
How to Stop Paper Coffee Filters From Tearing During Brewing?
There is nothing more frustrating than watching your paper coffee filter tear mid-brew, sending coffee grounds straight into your cup. You planned a perfect morning cup, and now you have a gritty, messy disaster on your hands.
This problem is more common than most people realize, and the good news is that it is almost always 100% preventable.
Paper coffee filter tearing happens because of specific, fixable mistakes. Whether you brew with a pour-over dripper, a drip coffee machine, or a Chemex, the causes are the same and the solutions are straightforward.
This guide covers every reason your filters keep tearing and gives you clear, step-by-step fixes so it never happens again.
In a Nutshell
- Filter quality matters enormously. Cheap, thin filters from discount stores tear easily when wet. Upgrading to a trusted brand like Melitta, Hario, or Kalita makes a significant difference in durability and performance during the entire brewing process.
- Proper placement prevents most tears. A filter that is not seated correctly inside the basket or cone will shift during brewing, creating pressure points that lead to rips. Always fold the seam edge before placing the filter and press it flush against the brewer walls.
- Pre-wetting the filter is not optional. Rinsing a dry filter with hot water before adding coffee grounds helps the paper adhere to the brewer walls, removes paper taste, and reduces the risk of the filter collapsing or tearing under the weight of wet coffee grounds and water.
- Your grind size and coffee amount are directly connected to filter tearing. A grind that is too fine clogs the filter, builds up water pressure, and eventually causes it to burst or tear. Overfilling with too many grounds adds excessive weight to a wet, softened filter.
- Water temperature and pour speed are critical. Water that is too hot weakens the paper fibers instantly, while a fast, aggressive pour creates concentrated force on one area of the filter, punching right through it.
- Correct storage of your filters protects their strength. Filters stored in humid or open conditions absorb moisture and break down slowly, making them weak before you even use them. Always store filters in a sealed container or their original packaging.
Why Paper Coffee Filters Tear: The Root Causes Explained
Before jumping into solutions, it helps to understand exactly why filters tear in the first place. Paper coffee filters are engineered to be strong enough to hold wet coffee grounds while allowing water to pass through at a controlled rate. However, they are still paper, and paper has a breaking point.
The most common root causes of filter tearing include excessive water pressure, improper placement, low-quality filter paper, overfilling with grounds, and water that is too hot. When any one of these conditions is present, the filter paper weakens, loses structural integrity, and eventually breaks. Sometimes two or three of these issues happen together, which makes the tear feel sudden and unpredictable. Understanding each cause individually is the key to addressing it correctly.
Filter tearing also depends on the brewing method. Pour-over methods like the V60 or Chemex put more manual stress on the filter because you are pouring water directly onto it. Drip coffee machines manage water flow automatically, but a clogged or wrongly placed filter inside a drip basket can still tear from internal water pressure buildup. Each method has its own risks, but the fixes are practical and achievable regardless of how you brew.
Choosing a High-Quality Paper Coffee Filter
The quality of your paper coffee filter is the single most important factor in preventing tears. Not all coffee filters are made the same way, and the difference between a cheap supermarket filter and a well-made one is visible even before you use it.
Cheap filters are noticeably thin when held up to light. They contain loose paper pulp fibers and feel flimsy to the touch. When these filters get wet, they soften quickly and lose their structural strength. A quality filter, on the other hand, stays firm and maintains its shape throughout the entire brewing process.
When selecting a filter, look for these characteristics. The paper should feel consistent and even, not patchy or transparent. Hold the filter up to a bright light source. A quality filter will appear uniform without visible weak spots or thin areas. Brands like Melitta, Hario, and Kalita are widely trusted for their consistent paper quality.
Bleached white filters are generally more uniform in texture and slightly stronger when wet than unbleached brown ones. Unbleached filters can have a more fibrous texture that weakens unevenly. If you prefer unbleached filters for environmental reasons, rinse them more thoroughly before use to compensate for the slightly weaker paper structure.
The important thing is to always use a filter specifically designed for your brewer type and size, and to avoid bulk discount filters that sacrifice paper quality to cut costs.
Matching the Filter Size to Your Brewer
Using the wrong size filter is a surprisingly common cause of tearing, and many home brewers never consider it as a possible issue. A filter that does not fit your brewer properly will fold over itself, create pressure points, or collapse inward during brewing. Each of these outcomes creates conditions where tearing becomes almost unavoidable.
Paper coffee filters come in several standardized sizes. The most common ones are #1, #2, #4, and #6 for cone-shaped filters, and flat-bottom basket filters come in sizes designed for 4-cup, 8-cup, and 12-cup machines. Cone filters also come in different shapes, including the pointed V60 cone and the flat-V Melitta cone, and these are not interchangeable.
To find the right filter size, check your brewer’s user manual or look on the bottom or side of the brewer itself. Most manufacturers print the recommended filter size directly on the machine. If you buy a new dripper or coffee maker without the manual, search for the model number online and match it to the filter specification.
A filter that is too large will fold over the top edge and sag inward, creating a weak area right where the water hits first. A filter that is too small will not sit flush against the brewer walls and will allow water to bypass the grounds entirely. Both scenarios create stress on the paper and increase the risk of tearing significantly.
Folding the Filter Correctly Before Use
Folding your filter properly before placing it in the brewer is a step that most home brewers skip entirely, yet it makes a big difference in how well the filter holds up during brewing. A correctly folded filter fits snugly against the walls of the basket or cone, which distributes the weight of water and grounds evenly across the entire surface.
For standard cone-shaped filters with a crimped seam on the side and bottom, the correct fold technique works like this. First, fold the bottom seam edge over to one side. Then flip the filter over and fold the side seam in the opposite direction. This creates an alternating fold that opens into a clean, symmetrical cone shape that sits firmly against the brewer walls without any gaps.
For flat-bottom basket filters, fold the bottom edge over before opening the filter and placing it in the basket. This prevents the seam from blocking drain holes at the bottom of the basket, which would slow water flow and build up pressure against the filter walls.
For Chemex filters, which are folded into a cone from flat paper, the thick multi-layer side always faces the spout. Open the filter so that three layers sit on the spout side, giving extra support where the glass walls provide less contact. Getting the fold right takes about ten seconds but prevents the filter from sitting awkwardly inside the brewer, which is a primary cause of uneven water distribution and localized tearing.
Pre-Wetting the Filter Before Adding Coffee
Pre-wetting your coffee filter before adding grounds is one of the most effective and easiest habits you can build. This single step addresses several problems at once: it removes the papery taste from the filter, preheats your brewer or dripper, and most importantly, it causes the wet filter paper to adhere firmly to the brewer walls.
When a dry filter is placed in a brewer and hot water hits it suddenly, two things happen. First, the dry paper absorbs water unevenly, with some areas becoming soft and weak before others. Second, the filter tends to shift or collapse inward because it has no adhesion to the brewer walls yet. Both conditions increase tearing risk considerably.
To pre-wet your filter correctly, place the filter in the brewer first, without any coffee grounds in it. Pour hot water slowly and in a circular motion, wetting the entire surface of the filter from the walls down to the bottom. Make sure you wet the full filter, not just the center. Partial pre-wetting creates dry edges that pull unevenly when brewing starts, which can cause small tears or filter collapse.
After pre-wetting, discard the rinse water from the carafe or cup below before adding your coffee grounds. This step also removes the paper flavor that would otherwise end up in your finished brew. Some people skip pre-wetting because they think it wastes time or water, but the improvement in both filter durability and coffee taste makes it well worth the extra fifteen seconds it requires.
Adjusting Your Coffee Grind Size
Grind size has a direct and often overlooked relationship with coffee filter tearing. When your coffee is ground too finely, the tiny particles clog the filter and block water from passing through at a normal rate. Water then backs up and pools on top of the grounds, creating a growing weight and pressure that eventually exceeds what the wet paper can hold.
Think of it like this: your filter is a dam. When water flows through at a steady, manageable rate, the dam holds easily. When water is blocked and starts to accumulate, pressure builds against that dam until something gives way. With a coffee filter, what gives way is the paper itself, usually at the weakest point or along a seam.
For pour-over methods like the V60 or Chemex, use a medium to medium-fine grind. The particles should resemble coarse sea salt or table salt, not powdered sugar. For drip coffee machines, a medium grind is standard.
If your filter consistently tears, try coarsening your grind slightly. Watch how quickly water drains through the filter. A healthy pour-over should drain completely within three to four minutes. If it takes longer, your grind is likely too fine.
If you use pre-ground coffee from a bag, check whether the grind level matches your brewing method. Pre-ground coffee labeled “espresso grind” is far too fine for pour-over or drip methods and will clog your filter almost immediately. Always use a grind specifically suited to your brewing method to keep water flowing at the correct rate and avoid pressure buildup inside the filter.
Avoiding Overfilling the Filter with Coffee Grounds
Adding too much coffee to your filter is another common cause of tearing, especially in pour-over setups. Wet coffee grounds expand significantly as they absorb water, and a filter packed too full puts enormous downward pressure on the wet paper as it tries to contain the expanding mass.
The standard coffee-to-water ratio for pour-over brewing is 1:15 to 1:17, meaning one gram of coffee for every 15 to 17 grams of water. In practical terms, this works out to about one to two tablespoons of ground coffee per six ounces of water. For drip coffee machines, the same ratio applies.
To be more precise, use a kitchen scale. Weigh your coffee in grams and your water in grams. This removes the guesswork from your brewing process and ensures you never overfill. A filter that is too full will also cause water to overflow during the bloom phase, where the grounds first contact hot water and release CO2 gas in a bubbling, expanding reaction.
If you want stronger coffee, do not simply add more grounds. Instead, adjust your water-to-coffee ratio slightly and use a medium-fine grind to extract more flavor from the same amount of grounds. Overfilling to get stronger coffee is a common mistake that damages your filter and produces a bitter, over-extracted brew rather than a richer one.
Controlling Water Temperature
Water temperature has a direct effect on paper filter strength. Boiling water, which sits at 212°F (100°C), hits filter paper hard and softens the fibers almost instantly. The sudden thermal shock weakens the paper structure and makes it more likely to tear under even modest water pressure.
The ideal water temperature for brewing coffee is between 195°F and 205°F (90°C to 96°C). This range is hot enough to properly extract the flavor compounds from your coffee grounds but not so hot that it breaks down filter paper fibers aggressively. Most specialty coffee professionals recommend letting boiled water rest for 30 to 45 seconds before pouring it over the filter and grounds.
If you do not have a thermometer, a simple rule of thumb is to bring water to a boil and then let it sit off the heat for about 45 seconds before use. This drop in temperature is usually sufficient to bring it into the safe range for both good extraction and filter preservation.
Temperature control also matters for the pre-wetting step. Use water in the same 195 to 205°F range when rinsing the filter. Extremely hot water during pre-wetting can weaken the paper before you even add coffee grounds, setting up a fragile filter that tears almost as soon as brewing begins. A quality gooseneck kettle with a built-in thermometer makes temperature control simple and consistent.
Slowing Down Your Pour Rate and Technique
How you pour water over the filter is just as important as the temperature and volume. Fast, heavy pours concentrate a lot of force on one small area of the filter, which can punch right through the wet paper, especially along the sides or bottom seams.
In pour-over brewing, the goal is to saturate the coffee grounds evenly and at a controlled rate. This produces an even extraction and puts minimal stress on the filter. The correct technique starts with a slow, circular pour beginning at the center of the grounds and spiraling outward. Never pour directly at the filter walls. The water should always land on the coffee bed itself, not on the exposed paper.
A gooseneck kettle is the most effective tool for controlling pour rate and direction. The long, curved spout creates a narrow, steady stream of water that you can direct precisely and at a consistent speed. A regular kettle with a wide spout makes controlled pouring much harder and greatly increases the chance of accidentally directing water forcefully at the filter walls.
For drip coffee machines, you do not manually control the pour, but you can reduce the risk of filter damage by making sure the spray head above the filter basket is clean and unobstructed. A clogged or partially blocked spray head can direct uneven, concentrated jets of water at one spot on the filter rather than distributing it evenly across the grounds. Clean the spray head monthly with a soft brush or toothpick.
Seating the Filter Properly in the Brewer
Even a high-quality, correctly sized, and properly folded filter can tear if it is not seated correctly in the brewer. A filter that has gaps between it and the brewer walls allows grounds to bypass the paper, which causes uneven water flow and localized pressure points that lead to tearing.
To seat your filter correctly, open it into its full cone or basket shape and press it gently but firmly against every wall of the brewer. Run your fingers around the inside edge to smooth out any air pockets or folds. The filter should sit completely flat against the brewer surface with no part of it bowing inward or sticking up above the rim.
After pre-wetting the filter, check the seat again. Wet paper shifts easily, and the filter may have moved slightly during rinsing. Press it back against the walls with clean fingers before adding your coffee grounds. Some brewers have textured or ridged interior walls specifically designed to hold the filter in place and improve water flow along the filter surface. If your brewer has these ridges, make sure the filter is pressed firmly enough to contact them.
For cone filters, the bottom tip of the filter should sit directly over the center drain hole of the dripper. If the tip is off-center, water flow will be uneven, putting more pressure on one side of the filter than the other. This imbalance is a common cause of one-sided tearing in pour-over setups.
Understanding How Water Flow Rate Affects Filter Integrity
Water flow rate is the speed at which water moves through your coffee grounds and filter paper. When flow rate is too slow, water pools above the filter and creates pressure. When flow rate is too fast, the filter may not capture fine particles properly. Both extremes create problems for filter integrity.
The ideal flow rate for pour-over coffee produces a total brew time of about three to four minutes for a standard 300ml cup. If your brew drains in under two minutes, your grind may be too coarse or your filter has a tear. If it takes longer than five minutes, your grind is too fine and water is struggling to pass through the clogged filter paper.
You can regulate flow rate by adjusting your grind size, as covered earlier, or by adjusting how much coffee you use relative to the amount of water. A balanced flow rate puts the least stress on the filter paper and produces the best-tasting coffee at the same time.
For drip coffee machines, flow rate is partially determined by the machine’s pump and heating element. A machine that has not been descaled recently may have mineral buildup that slows water delivery and causes it to back up behind the filter basket. Descale your drip coffee machine every one to three months using a descaling solution or a mixture of equal parts white vinegar and water run through a full brew cycle.
Storing Coffee Filters the Right Way
Filter storage is a factor that almost nobody talks about, but it directly affects how strong and reliable your filters will be during brewing. Filters stored in humid conditions absorb moisture from the air and begin to break down slowly. By the time you use one of these degraded filters, it is already weakened and far more likely to tear under normal brewing stress.
The original packaging that filters come in is usually adequate for short-term storage if you close it after each use. If you open a new pack and use filters regularly, one per day for example, the packaging will protect them fine. However, if you use filters infrequently or live in a humid climate, the open packaging allows moisture to seep in and degrade the paper over time.
For long-term storage or in humid conditions, transfer unused filters to a sealed zip-lock bag or an airtight container. Keep this container in a cool, dry place away from direct sunlight and heat sources. Do not store filters near your stove, sink, or any location with high ambient moisture.
Very dry conditions can also cause filter paper to become brittle. The paper loses moisture and flexibility, which makes it crack or crumble when handled. A sealed container also protects against this in extremely dry environments. Taking care of your filter storage takes almost no effort and guarantees that every filter you use is at full strength.
Troubleshooting Specific Brewing Methods
Different brewing methods create different types of stress on your paper filters, and knowing which risks apply to your setup helps you target the right fix. Pour-over methods like the Hario V60 and Chemex are most prone to filter tearing because the brewer controls almost nothing automatically. Every variable, including pour speed, water temperature, and filter placement, is entirely in your hands.
For V60 brewing, the most common tearing points are along the side seams, especially when the water stream hits the filter wall directly instead of the coffee bed. Use a gooseneck kettle, pre-wet thoroughly, and always aim your pour at the center of the grounds.
For Chemex brewing, the four-layer side of the filter faces the spout. This placement is important because it adds extra support on the side that contacts the glass wall directly. Using the filter in reverse makes one wall much weaker and more prone to tearing during the pour.
For drip coffee machines, tearing usually happens in the basket when grounds are too fine, when the basket is overfilled, or when the spray head directs water unevenly. Check all three of these factors if your drip machine is consistently tearing filters.
For Aeropress and similar immersion brewers, filter tearing is rare but can happen if you press too hard during the plunge phase. Use a steady, even downward pressure rather than a fast, forceful push.
When to Switch to a Reusable Filter
If paper filter tearing continues to be a persistent problem despite following all the steps in this guide, it may be worth considering whether a reusable filter option suits your brewing setup better. Reusable filters made from stainless steel mesh or cloth do not tear, and they eliminate the need to buy and store paper filters altogether.
Stainless steel mesh filters allow more coffee oils to pass through into the cup, which creates a slightly heavier, more full-bodied brew compared to paper-filtered coffee. This is similar in character to French press coffee. Cloth filters, sometimes called gold or flannel filters, offer a middle ground between paper and metal, producing a clean cup with some of the body that metal filters provide.
The trade-off with reusable filters is that they require regular, careful cleaning to prevent old coffee oils from building up inside the mesh or fabric. Rancid oil residue affects the taste of every subsequent cup. Rinse reusable filters under warm water immediately after each use and deep clean them weekly with a gentle brush and warm soapy water.
Reusable filters are a sensible long-term choice for brewers who want less waste and fewer morning disruptions. They are not a substitute for learning correct brewing technique, but they do remove filter tearing from the list of things you need to worry about entirely.
Building a Filter-Safe Brewing Routine
The most reliable way to stop paper coffee filters from tearing is to build a consistent, step-by-step brewing routine that addresses each risk factor automatically every single time you brew. A good routine takes no more time than your current process once you practice it a few times. Here is a straightforward daily routine that protects your filter at every stage.
Start by checking that your filter is the correct size and shape for your brewer. Fold the seam edges before opening the filter. Place the filter inside the brewer and press it firmly against the walls. Pre-wet the filter with hot water at 195°F to 205°F in a slow circular motion, making sure every part of the filter is wet. Discard the rinse water.
Grind your coffee to the correct size for your brewing method and weigh it to the correct ratio. For pour-over, aim for 1:15 to 1:16 coffee to water. Add the grounds to the pre-wetted filter without pressing or compacting them. Heat your water to the correct temperature and begin your pour slowly, starting at the center and moving outward in small, steady circles. Maintain a consistent, controlled pour rate throughout the brew.
Following this routine every morning takes away the guesswork and eliminates nearly every common cause of filter tearing simultaneously. Within a week, it becomes second nature. The result is a cleaner, more consistent cup of coffee every single day, with no torn filters, no loose grounds in your cup, and no frustrating restarts.
FAQs
Why does my coffee filter keep ripping even when I am careful?
The most likely cause is a combination of factors, such as a low-quality filter, incorrect grind size, and a filter that is not properly seated in the brewer. Check each one individually. Start with filter quality, then grind size, then placement. Often, one small change, like coarsening your grind slightly or pre-wetting the filter more thoroughly, resolves the problem entirely.
Does pre-wetting the filter really prevent tearing?
Yes, it does. A dry filter placed in a brewer shifts and weakens unevenly when hot water first hits it. Pre-wetting causes the paper to adhere to the brewer walls and distributes its strength evenly across the entire surface. It is one of the most effective and easiest steps you can take to prevent filter tearing.
What is the best water temperature to avoid weakening paper filters?
Use water between 195°F and 205°F (90°C to 96°C). Boiling water at 212°F softens paper fibers too aggressively and increases tearing risk. Let your boiled water rest for 30 to 45 seconds before using it to pre-wet the filter and to brew your coffee.
Can the wrong grind size really cause a coffee filter to tear?
Absolutely. A grind that is too fine clogs the filter, which causes water to pool and build pressure above the paper. This pressure eventually exceeds what the wet filter can hold, causing it to tear or burst. Coarsening your grind slightly is often all it takes to fix a recurring tearing problem.
How do I know if my coffee filter is low quality?
Hold the filter up to a light source. A low-quality filter will appear thin, uneven, or transparent in spots. It may also feel flimsy or show visible paper pulp fibers when you look closely. High-quality filters feel consistent, slightly thick, and show no weak spots when held up to light.
Should I fold my coffee filter before placing it in the brewer?
Yes. Folding the seam edges of a cone filter before opening it into the brewer helps it fit snugly against the walls. This reduces gaps that can cause uneven water flow and pressure points. Folding the bottom seam also prevents it from blocking drain holes in your dripper or basket.
Can I fix a partially torn filter mid-brew?
Not safely. If a filter tears during brewing, stop immediately to avoid grounds flooding your cup. Carefully remove the filter and either start again with a new filter or use a second fresh filter placed inside the first to reinforce it. Starting fresh with a new filter is the cleaner option if coffee has already started mixing with the grounds water.
How should I store paper coffee filters to keep them strong?
Store filters in their original sealed packaging or in an airtight zip-lock bag or container. Keep them in a cool, dry location away from heat, steam, and direct sunlight. In humid climates, sealed storage is especially important because moisture weakens filter paper over time, even before you use it.

Hi, I’m Luna! I’m the voice behind CoffeePickster.com. I’m a coffee obsessive who’s spent way too many hours (and dollars) testing coffee makers so you don’t have to. I created this blog to help fellow coffee lovers find the right gear without the guesswork. Let’s brew something great together!