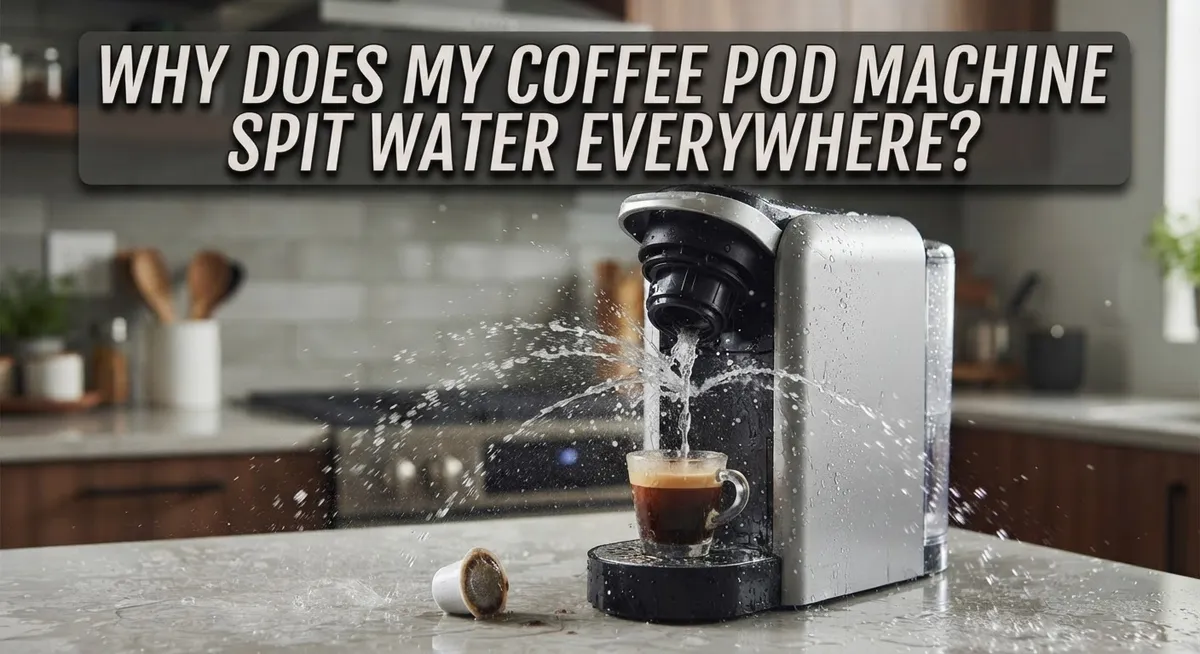
Why Does My Coffee Pod Machine Spit Water Everywhere?
Does your coffee pod machine spit water everywhere instead of pouring a smooth cup? You are not alone. This is one of the most common coffee machine problems people face.
Nothing pours, then suddenly it spills over. Sometimes wet grounds fly out from the top. Other times, water leaks straight into the used pod container. It can feel messy and frustrating, especially in the morning rush.
The good news is that this problem almost always has a simple fix. In most cases, you can solve it yourself without calling a repair service.
This article explains why your machine spits water and makes a mess. We will look at common causes, like improper pod puncturing and clogged needles. You will also learn why excessive purging makes the problem worse.
In a Nutshell
- Check the pod first. Make sure it sits fully inside the holder. It needs a clean puncture on both the top and bottom.
- Clean the needles. A blocked entrance or exit needle often causes water to spit or grounds to fly out. A paperclip can clear this in seconds.
- Inspect the seal. A worn or dirty seal around the pod compartment can let water leak into the used pod tray instead of your cup.
- Skip extra purging. Letting your machine purge after every single cup wastes water. It also raises the chance of overflow and spitting.
- Watch the pattern. If nothing pours and then it suddenly spills, this points to a pod insertion or puncture problem.
- Relax, it’s fixable. Most of these issues are simple to solve at home. You rarely need a repair or a replacement machine.
Once you spot the cause, your coffee should pour smoothly again.
How Your Coffee Pod Machine Is Supposed to Work
Your coffee pod machine works through a simple water flow system. Water heats inside the machine’s reservoir and travels through internal pipes to reach the pod holder.
When you insert a pod, two needles do important jobs. The top needle pierces the pod’s lid so hot water can enter. The bottom needle pierces the pod’s base so brewed coffee can exit into your cup below.
Water pressure builds inside the sealed pod. This pressure forces the hot water through the ground coffee inside. The brewed liquid then flows down and out through the bottom opening into your waiting cup.
The machine has entrance and exit paths for water. Water enters through one needle and exits through another. Both needles must stay clear and unblocked for smooth operation.
A rubber seal sits around the pod compartment. This seal keeps water inside the brewing chamber where it belongs. When the seal works correctly, all liquid flows into your cup, not onto your counter.
Your machine also has a purge cycle. After brewing finishes, the machine releases remaining water pressure. This prevents water from dripping or leaking after you remove the pod.
The whole process takes just a few minutes. Hot water enters, brews your coffee, and exits cleanly. Everything depends on proper pod insertion, clear needles, and a tight seal.
When this system works as designed, you get a full cup without spills. Water stays inside the machine until it reaches your cup. Understanding these steps helps you spot what goes wrong when water starts spraying everywhere instead of brewing smoothly.
Top Reasons Your Machine Spits Water or Grounds
Your coffee pod machine spits water for several core reasons. Understanding these causes helps you fix the problem quickly.
Improper pod puncture tops the list. When you insert a pod, two needles must pierce both the top and bottom. If the pod sits at an angle or doesn’t push all the way down, one needle may miss. This creates an incomplete seal. Water then builds pressure and escapes sideways instead of flowing through your cup.
Clogged needles are the second major culprit. The entrance needle lets water into the pod. The exit needle lets brewed coffee out. When mineral deposits or old grounds block these needles, water cannot flow properly. Pressure builds up. The machine then forces water out through weak points, often spraying sideways or upward.
Water leaking from the pod compartment happens when the rubber seal wears out or gets dirty. Instead of flowing into your cup, water seeps into the used pod container below. This creates pooling and overflow.
Wet grounds spitting from the top signals a blocked water line inside the machine. When water cannot exit the pod properly, it forces grounds upward and out.
Excessive purging between cups also contributes. Your machine purges to clear water lines. If you let it purge after every single brew, extra water sits in the system. This increases pressure and overflow risk.
The good news is simple. Most of these issues fix with three basic steps. Check your pod insertion first. Clean both needles with a paperclip second. Inspect the compartment seal third. These actions solve the spitting problem in most cases without needing professional help.
Step-by-Step: Checking Pod Insertion and Puncture
Start by opening your machine and looking at the pod holder. The pod must sit completely flat inside the compartment. Push it down firmly until you hear a click or feel it lock into place. A pod that sits even slightly crooked will not puncture evenly on both sides.
Check that the pod’s foil top and bottom are both smooth and intact before insertion. Dents or tears prevent proper needle penetration. If the foil looks damaged, use a different pod.
Once inserted, close the machine and look through any viewing window or opening. You should see the top needle pierce straight through the foil. The bottom needle should also go through cleanly. If either needle misses the foil or only partially punctures it, water will escape sideways instead of flowing through the pod.
Remove the pod after brewing and inspect the foil. Both sides should have clean holes from the needles. Ragged holes or incomplete punctures mean the pod was not seated correctly. Next time, push it in more firmly.
Pay attention to how the pod compartment door closes. It must seal tightly around the pod holder. If the door feels loose or doesn’t click shut, the seal may be worn. A poor seal lets water leak out during brewing instead of staying inside the pod.
Test the puncture system without a pod inside. Run a brew cycle into an empty cup. You should see two thin streams of water from the entrance and exit needles. Weak streams or no water means needles are clogged and need cleaning. This simple check tells you if puncture problems are the real issue.
How to Clean the Entrance and Exit Needles
The entrance and exit needles are small metal tubes inside your machine that pierce the pod and let water flow through. When these needles get clogged, water backs up and shoots out sideways instead of flowing into your cup.
Here’s how to clean them safely. First, unplug your machine and let it cool for at least 15 minutes. Safety matters when working inside appliances.
Open the pod compartment and look for the needles. The entrance needle sits on top where water enters the pod. The exit needle is on the bottom where brewed coffee leaves. Both needles are usually thin and pointed.
Take a paperclip or small wire and straighten it out. Gently insert it into each needle opening. Push slowly and carefully to break up any coffee grounds or mineral buildup inside. Do not force it or bend the needle itself.
Run water through the machine without a pod inside. Place a cup underneath and press brew. Watch the water stream. It should flow smoothly without spraying sideways.
If water still sprays everywhere, repeat the cleaning process. Sometimes stubborn blockages need two or three attempts.
Prevention keeps needles clear. After every 10 to 15 uses, run water through an empty machine. This flushes out loose grounds before they harden inside.
Mineral deposits also clog needles. If you have hard water, consider running a cleaning cycle with white vinegar once per month. Check your machine manual for the correct vinegar to water ratio for your specific model.
Clean needles mean better water flow, fewer spills, and better tasting coffee every time.
Inspecting the Pod Compartment Seal for Leaks
The rubber seal around your pod compartment is critical. This seal keeps water inside the machine during brewing. When it fails, water leaks into the used pod container or sprays outward.
Start by opening your machine and looking at the rubber gasket. It sits in a groove around the pod holder opening. Check for visible cracks, tears, or hardening. A damaged seal loses its ability to hold pressure.
Next, inspect the seal for dirt and debris. Coffee grounds, mineral buildup, and dried coffee oils accumulate over time. These deposits prevent the seal from sealing completely. Gently wipe the rubber gasket with a damp cloth. Use warm water and a soft brush to remove stubborn residue.
Pay close attention to where the seal contacts the metal edges. Gaps here allow water to escape. The seal must sit flush against the compartment walls. If it appears loose or shifted, reseat it carefully in its groove.
Check the compartment door itself for damage. A warped or bent door won’t press the seal evenly. Look for dents or misalignment when you close it. The door should close smoothly without resistance.
Test the seal by running your machine without a pod. Place a cup underneath and start a brew cycle. Watch for water leaking from the compartment area. If you see drips, the seal needs cleaning or replacement.
Run this inspection every month. A clean, properly seated seal prevents most water spitting problems. This simple maintenance task takes just five minutes. Catching seal issues early stops water damage to your machine and kitchen.
Adjusting Purge Settings to Prevent Overflow
Your machine’s purge cycle happens automatically after brewing. This cycle forces water through the system to clear remaining grounds and prevent mold. However, excessive purging is a common culprit behind water spitting everywhere.
Most machines purge for 3 to 5 seconds after each cup. If your machine purges for longer than this, water builds up inside the pod compartment. This excess water then sprays out when you open the lid or remove the pod.
Check your machine’s settings first. Many pod machines have adjustable purge options in their menu. Look for buttons labeled “purge,” “rinse,” or “cleaning mode.” Some machines let you disable automatic purging between cups entirely. Reducing the purge duration cuts down on overflow risk significantly.
Disable purging between every single cup. Running the purge cycle after each brew wastes water and increases pressure inside the chamber. Instead, purge your machine only once daily, ideally at the end of your morning routine. This simple change prevents water from accumulating in the pod compartment.
Pay attention to whether your machine purges before or after you insert a pod. Machines that purge before pod insertion sometimes spray water into an empty chamber. Water then collects and leaks out when you open the compartment door.
If your machine lacks adjustable purge settings, contact the manufacturer for guidance. Some older models have fixed purge cycles you cannot change. In these cases, cleaning the needles and checking seals becomes even more important.
Test your adjustments by brewing several cups and observing whether water still sprays. You should notice immediate improvement once purge settings are optimized for your usage pattern.
Mistakes That Make Spitting and Leaking Worse
Spitting and leaking get worse when you make certain mistakes during operation. Understanding these errors helps you stop the problem before it starts.
Incomplete pod insertion is the biggest culprit. You must push the pod all the way down until it seats completely. If the pod sits halfway in the compartment, the needles cannot puncture both the top and bottom foils properly. Water then escapes around the edges instead of flowing through the grounds. Always check that the pod compartment door closes smoothly and clicks into place.
Skipping needle maintenance amplifies spitting issues. When entrance and exit needles get clogged, pressure builds inside the pod. This pressure forces water out sideways rather than downward into your cup. Mineral deposits and old coffee residue accumulate quickly. Clean these needles every 10 to 15 uses to keep water flowing in the right direction.
Allowing constant purging makes overflow worse. Your machine purges automatically after each brew to clear excess water. However, if purging happens too frequently or lasts too long, excess pressure develops. This pressure then escapes when you insert the next pod, causing water to spray everywhere. Check your machine’s settings and disable purging between every single cup if possible.
Ignoring the pod compartment seal lets water leak into the used pod container. When this rubber gasket wears out or gets dirty, water bypasses the pod entirely. Inspect this seal monthly for cracks or debris buildup.
These mistakes compound each other. Fix one issue at a time, starting with proper pod insertion and needle cleaning. Most spitting problems disappear once you address these basic errors.
When to Troubleshoot Further vs Call for Service
You’ve tried the basic fixes. Your needles are clean. Your pod sits properly. Water still sprays everywhere. Now you need to decide: keep troubleshooting or call for help.
Simple issues stay fixable at home. If water only spits occasionally, you likely have a minor clog or seal problem. Run your machine empty again. Check the rubber gasket around the pod compartment for visible cracks or permanent deformation. A damaged seal causes persistent leaks but replacement is straightforward on most machines.
Persistent problems signal deeper issues. If water sprays constantly despite cleaning needles twice, your water lines may have internal blockages. If wet grounds eject from the top repeatedly, a needle inside the machine is bent or broken. These problems require opening internal components that most users shouldn’t access alone.
Pay attention to when spitting happens. Does it occur only during brewing? That points to a fixable needle or seal issue. Does it happen during the purge cycle afterward? Your machine may have a faulty pressure valve. Does water leak from the bottom compartment into the used pod container? The seal definitely needs attention.
Contact the manufacturer or a technician when: Water sprays despite multiple cleaning attempts. The machine makes unusual grinding or clicking sounds during operation. Leaking happens from internal parts you cannot access safely. Your machine is still under warranty, since repairs might be free.
Most spitting issues resolve with cleaning and proper pod insertion. However, internal damage requires professional service. Don’t waste time repeating the same fixes endlessly. After two thorough attempts at troubleshooting, reaching out for professional help saves frustration and prevents further damage to your machine.
Final Thoughts
Water spitting from your coffee pod machine feels annoying, but it’s rarely a serious problem. Most cases come down to simple fixes you can do at home.
Start with the basics. Check that your pod sits fully inserted and punctured on both sides. This one step solves many spitting issues.
Next, look at your needles. A quick clean with a paperclip clears blockages that cause water to spray instead of flow properly.
Don’t forget your purge settings. Disabling purge cycles between every cup reduces pressure and stops unnecessary overflow.
Your pod compartment seal matters too. A damaged or dirty seal lets water escape into the used pod container instead of your cup.
Think of these fixes as routine maintenance, not emergency repairs. Your machine works hard every day. It deserves a little care in return.
If you’ve tried cleaning needles, checking pod insertion, and adjusting purge settings but spitting continues, something bigger might be happening. This is when you call a technician or reach out to the manufacturer.
Persistent problems often point to blocked water lines or internal issues beyond simple cleaning. Don’t force repairs you’re unsure about.
The good news? Most spitting problems never reach that point. Simple, consistent maintenance keeps your machine running smoothly.
Make pod insertion checks and needle cleaning part of your regular routine. Test your purge settings once and adjust as needed.
Small habits prevent big messes. Your countertop stays clean, your cup stays full, and your morning coffee routine stays stress free.
Coffee pod machines are built to last with proper care. A little attention now saves you frustration later.
Frequently Asked Questions
Why does my machine spit water then suddenly stop?
This happens when your pod doesn’t puncture completely. The machine builds pressure, but water can’t flow through properly. Then the pressure releases suddenly, causing water to spray everywhere.
Check that your pod sits fully in the holder. Push it down until you hear a click. Both the top and bottom needles must pierce the pod completely for water to flow smoothly.
Can wet grounds really shoot out from the top?
Yes, this is actually common. When the exit needle gets clogged, water backs up inside the pod. The pressure forces wet grounds upward instead of letting them fall into your cup.
Take a paperclip and gently clean the exit needle (the one on top of the pod compartment). Push it in slowly to remove any coffee residue. This usually fixes the problem immediately.
Is it normal for water to leak into the used pod container?
No, this means your pod compartment seal isn’t working properly. Water should only flow down into your cup, not sideways into the container below.
Check if the rubber seal around the pod holder looks cracked or loose. If it appears damaged, you may need a replacement seal. If it looks fine, try reinserting your pod more firmly.
Why does my machine overflow even with a proper pod?
Your machine might be purging too much water. Purging clears old grounds between brews, but excessive purging creates extra pressure. This pressure forces water out of the pod compartment.
Look for purge settings in your machine’s menu. Reduce the purge duration if possible. Test by brewing 3 or 4 cups to see if spitting decreases.

Hi, I’m Luna! I’m the voice behind CoffeePickster.com. I’m a coffee obsessive who’s spent way too many hours (and dollars) testing coffee makers so you don’t have to. I created this blog to help fellow coffee lovers find the right gear without the guesswork. Let’s brew something great together!