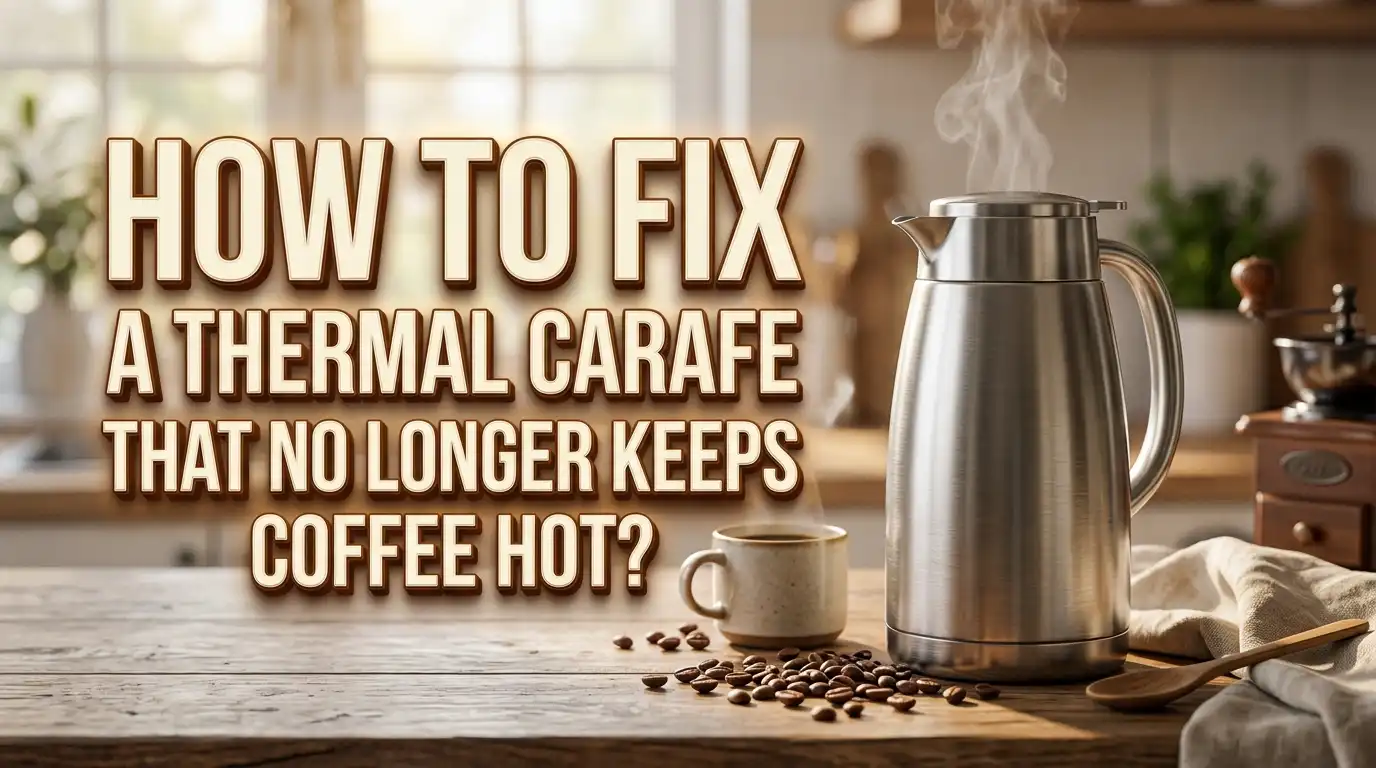
How to Fix a Thermal Carafe That No Longer Keeps Coffee Hot?
A thermal carafe should keep coffee hot for hours. So it feels frustrating when your fresh brew turns lukewarm too fast. The good news is that many heat loss problems have a simple cause.
The issue is often old coffee oil, a loose lid, trapped scale in the coffee maker, or poor heat habits before and after brewing.
This guide gives you clear fixes you can try at home. You will learn how to clean the carafe, check the seal, test the insulation, and improve the way you brew and serve. You will also see the pros and cons of each method, so you can pick the fix that fits your carafe and your routine.
Key Takeaways
- Start with the simple checks first. A lid that does not close fully, a carafe that was never preheated, or a half full brew can make coffee cool much faster than most people expect. These are quick fixes, and they often solve the problem without any repair.
- Clean the carafe and descale the coffee maker. Coffee oil film inside the carafe and mineral buildup inside the brewer can both hurt heat performance. A clean carafe holds heat better, and a clean brewer is more likely to deliver hotter coffee in the first place.
- Use hot water to preheat the carafe before brewing. This step matters more than people think. If hot coffee enters a cold stainless steel carafe, the metal absorbs heat right away. That first temperature drop can shorten the warm time by a lot.
- Inspect the lid, gasket, and pouring parts. A small gap can let steam escape fast. If the lid seal is warped, cracked, or full of residue, the carafe may leak heat even if the body is still in good shape.
- Test the vacuum insulation if the outside feels hot. A thermal carafe should keep heat inside its walls. If you pour hot water into it and the outside develops hot spots, the insulation may be damaged. In that case, cleaning will not solve the core issue.
- Use the right fix for the real cause. Cleaning is great for residue. Preheating is great for daily heat loss. Lid repair helps sealing issues. But a failed vacuum body usually means the carafe needs replacement or support from the maker.
Why a Thermal Carafe Stops Holding Heat
A thermal carafe keeps coffee hot by trapping heat inside insulated walls. In many models, the body uses a vacuum layer between two walls of stainless steel. That design slows heat transfer. If any part of that system weakens, your coffee cools faster.
The first common cause is a cold start. If the carafe sits at room temperature and you pour hot coffee straight in, the metal absorbs heat right away. That lowers the starting temperature of the coffee. Even a good carafe will seem weak if it begins with that heat loss.
The second cause is a bad lid seal. The lid matters more than most people think. Heat escapes from the top first. A loose gasket, stuck pour mechanism, or misaligned cap can let steam leak out in a steady stream. You may not always see the leak, but the coffee will show it.
The third cause is old residue. Coffee oils and mineral film build up over time. That buildup can affect how the lid closes and how the coffee maker brews. If the brewer has scale inside, it may also send out cooler water, which means the carafe never gets a truly hot fill.
The last cause is the hardest one. The vacuum insulation may have failed. This often happens after a drop, dent, or hidden impact. If the vacuum wall is damaged, the body can no longer block heat well.
Pros of learning the cause first: you save time, avoid random fixes, and spend money only where it helps. Cons: diagnosis takes a little patience, and some problems have more than one cause at the same time.
Quick Checks to Do Before You Start Cleaning or Repairing
Before you deep clean anything, run a few quick checks. These simple steps help you spot the real problem fast. In many homes, the fix is obvious once you slow down and inspect the carafe with fresh eyes.
First, fill the carafe with hot water and close the lid the way you normally do. Wait a minute. Then look for drips around the spout, lid edge, or pour button. Even a tiny leak matters. If steam escapes, heat escapes too.
Next, touch the outside of the carafe after it holds hot water for a few minutes. A good thermal body should stay mostly normal to the touch. If you feel one warm patch or a broad hot area, the insulation may be damaged. That points to a body problem, not just a lid problem.
Now check the lid itself. Turn it over and inspect the seal. Look for cracks, flattened rubber, sticky coffee film, and bits of trapped grounds. Press any buttons or moving parts. They should move easily and return to place. A sticky top often fails to seal well.
Then ask one simple question. Are you brewing a full pot or a partial pot most days? Many thermal carafes perform better when they are more full. Extra air space inside the carafe cools coffee faster.
Also think about your routine. Do you preheat the carafe first? Do you leave the lid open while setting the table? Do you pour one cup and leave the lid loose after?
Pros of these checks: they are fast, free, and safe. Cons: they do not remove buildup or fix damage, so you may still need deeper work after this step.
Deep Clean the Carafe Interior to Remove Coffee Oil and Odor Film
A dirty carafe often holds less heat than you expect. The reason is simple. Old coffee oil creates a film inside the body and around the lid. That film traps odor, affects taste, and can stop the lid from sealing cleanly.
Start with warm water and mild dish soap. Add it to the carafe and swirl it around. Use a long soft bottle brush if your hand cannot reach inside. Focus on the bottom corners, where oil likes to cling. Then rinse very well.
If soap alone does not remove the brown film, try a stronger cleaning step. Many people use white vinegar with water, or baking soda with warm water. Let the mixture sit for a while, then scrub and rinse again. Some people also use denture tablets for stain removal. These can help loosen stubborn film and odor.
Use care with anything abrasive. A rough scrubber can damage the finish or leave fine scratches that trap more residue later. Avoid bleach unless the maker clearly says it is safe. Harsh chemicals can harm seals and leave behind taste.
Now clean the lid with the same care. If the gasket comes out safely, remove it and wash the groove underneath. That hidden area often holds the worst buildup. Dry every part fully before you put it back together.
Pros of vinegar cleaning: cheap and good for mineral film. Cons: the smell can linger if you do not rinse well. Pros of baking soda: gentle and good for odor. Cons: it may not cut heavy scale as fast. Pros of tablets: easy and low effort. Cons: not every household has them on hand.
Descale the Coffee Maker So the Carafe Starts With Hotter Coffee
Sometimes the carafe is not the main problem. The coffee maker may be brewing cooler coffee because mineral scale has built up inside the machine. If the brewer runs less efficiently, your coffee enters the carafe at a lower temperature from the start.
Hard water leaves deposits over time. These deposits narrow water paths and strain the heating system. The coffee maker may still work, but it may not heat or flow as well as it did when it was new. That leads to weak heat retention, even if the carafe body is fine.
A basic descale process is simple. Empty the machine. Add a cleaning mix that your maker allows. Many people use vinegar and water. Run a brew cycle without coffee grounds. Let the solution sit if your maker guide suggests that step. Then run fresh water through the machine at least two times to clear the cleaner.
If your coffee maker has a clean light or a descale alert, do not ignore it. Regular cleaning helps the brewer maintain better performance. Some brands advise descaling every few months. Others suggest cleaning after a set number of brews. If your water is hard, you may need to descale more often.
While you clean, also wash the basket, spray head, and removable water parts if your brewer has them. Coffee grounds and scale can collect there too.
Pros of descaling: better brew heat, better taste, and smoother flow. Cons: it takes time, and poor rinsing can leave a sour smell. Still, if your carafe gets warm coffee instead of hot coffee, this step is one of the most useful fixes in the whole guide.
Preheat the Carafe Before Every Brew
Preheating sounds small, but it makes a big difference. A thermal carafe keeps heat longer when it starts warm. If hot coffee enters a cold metal body, the metal pulls heat from the liquid right away. That first heat drop is hard to recover later.
The fix is easy. Fill the empty carafe with hot tap water or very hot water from a kettle. Close the lid and let it sit for a few minutes. Then empty the water just before brewing. Now the carafe is warm, and the coffee keeps more of its heat from the first pour.
This habit matters even more in cold kitchens, winter weather, or early mornings when the carafe has been sitting in a cool room all night. It also matters if you brew small batches. A partly filled carafe loses heat faster than a full one, so every bit of starting warmth helps.
There are two common methods. The first uses hot tap water. That is easy, safe, and quick. The second uses hotter kettle water. That usually warms the body more fully, but it requires more care. Do not pour boiling water too fast into a thin or damaged carafe. Follow your maker instructions if they warn against extreme temperature shock.
Pros of hot tap water: simple, low risk, and easy to make part of your routine. Cons: it may not warm the carafe enough in a very cold room. Pros of kettle water: stronger preheat and better heat retention. Cons: more caution is needed, and it adds one more step before brewing.
If you do only one daily habit change, make it this one. A warm carafe gives your coffee a much better start.
Check the Lid Seal and Make Sure the Top Closes Fully
The lid is often the real heat leak. Many people focus on the insulated body and forget the top. But the top is where steam escapes first. If the seal fails, hot coffee cools fast even if the carafe walls still work well.
Take the lid off and inspect every sealing point. Look at the rubber ring, the inner cap edge, the pour lever, and any button parts. Check for cracks, flattening, warping, or residue. A gasket can look fine from a distance and still fail because it has hardened with age.
Wash the lid in warm soapy water. Use a small brush or cotton swab to clean tight grooves. Dry it well, then reassemble it carefully. Make sure every part sits flat. If the lid has threads, screw it on straight. Cross threading creates tiny gaps that are easy to miss.
Now test the seal. Fill the carafe with hot water, close the lid, and gently tilt the carafe over a sink. If water leaks where it should not, the seal is weak. Also watch for steam during normal use. A steady stream from the lid area means lost heat.
If the gasket is removable and damaged, see if the maker offers a replacement. Replacing a small seal costs much less than replacing the full carafe.
Pros of lid cleaning and gasket care: cheap, fast, and often very effective. Cons: some lids are hard to take apart, and some brands do not sell separate seals. Still, if your carafe cools too fast but the outside stays cool, the lid is one of the first places to fix.
Test the Vacuum Insulation Before You Waste Time on More Cleaning
A thermal carafe works because its insulated wall slows heat transfer. If that wall fails, no amount of cleaning will fully solve the problem. That is why a simple insulation test can save you time.
Start with an empty carafe at room temperature. Pour in very hot water and fill it near the top. Leave the lid off for safety if you are testing with water close to boiling. Wait about five minutes. Then touch the outside of the carafe body below the neck area.
A healthy thermal carafe should stay mostly normal on the outside. You may feel slight warmth near the top opening, but the main body should not feel hot. If one area feels warm or hot, the vacuum layer may be compromised. That means the body is losing heat through the wall.
This kind of failure often happens after a drop, a sharp bump, or hidden impact damage. A small dent can be more serious than it looks. Once the vacuum seal is gone, the carafe cannot trap heat the same way.
If the outside does not develop hot spots, the body may still be fine. In that case, return your attention to the lid, preheating, brew volume, and cleaning habits.
Pros of this test: fast, clear, and very helpful for diagnosis. Cons: you must handle hot water carefully, and it does not repair anything by itself. But it tells you an important truth. If the body is damaged, you can stop trying random home fixes and move to replacement parts or maker support.
Brew a Fuller Pot and Reduce Empty Air Space
Many people notice that their coffee stays hotter when they brew more. That is not just a feeling. A fuller carafe usually holds heat longer because there is less empty air inside. Extra air space cools the coffee faster.
Think of the air inside the carafe as unused cooling room. If you brew only two or three cups into a large thermal carafe, the hot coffee shares space with a lot of cooler air. Every time you pour, more air enters. That speeds up heat loss. A fuller brew gives the coffee more thermal mass, and that helps it stay hot longer.
If you often brew small amounts, try using the smallest carafe that fits your routine, or brew a bit more when you know you want hot coffee for a longer time. If your machine allows brew size changes, match the amount to the carafe size more carefully.
This also explains why people sometimes think the carafe is broken when it is actually doing normal work under less than ideal conditions. A large thermal carafe is always more effective when it holds more hot liquid.
Pros of brewing a fuller pot: no cost, easy to test, and often a big improvement. Cons: it may lead to extra coffee you do not need. If waste is a concern, this may not fit your daily habit.
A practical middle ground works well. Brew only what you will drink, but avoid leaving the carafe almost empty for long periods. If you pour the first cups right away, then leave a small amount sitting for an hour, that last cup will cool much faster than the first ones.
Improve Your Pouring and Serving Habits to Keep Heat Inside
A good carafe can still lose heat because of daily habits. Small actions matter here. The way you pour, close, and store the carafe changes how long the coffee stays warm.
Keep the lid closed as much as possible. If your lid has a pour setting, use it instead of removing the whole top each time. Every extra second with the lid open lets steam and heat escape. This sounds obvious, but it adds up across the morning.
Pour with purpose. Do not leave the lid loose while you chat, answer a text, or rinse a mug. Pour the coffee, close the top fully, and set the carafe down. If your model has a button pour system, make sure the button springs back after each cup.
Place the carafe away from cold drafts, wet counters, and stone surfaces that pull heat away fast. A folded dry towel or cork pad under the base can help a little if your counter stays cold. Keep the carafe out of direct cold air from an open window or an air vent.
Avoid transferring coffee back and forth between containers. Each move costs heat. If you want one travel mug for later, preheat that mug too before you pour into it.
Pros of better serving habits: free, simple, and useful every day. Cons: the change depends on habit, so results improve only if you stay consistent.
This section is easy to skip because it feels small. But small habits create steady heat loss. A great carafe cannot win against an open lid and long pauses. Good use helps the carafe do the job it was built to do.
Repair Small Parts or Replace the Right Part Instead of Guessing
Once you know the cause, choose the fix that matches it. Do not replace the whole setup just because the coffee is cooling too fast. In many cases, only one small part needs attention.
If the problem is a dirty or worn lid seal, start there. A fresh gasket or replacement lid can restore heat retention at a low cost. This is often the smartest option if the body still passes the hot water insulation test.
If the issue is a cracked lid, broken pour lever, or bent thread, replacement is often better than repair. Glues and home patch jobs rarely hold up well around heat, steam, and repeated washing. A poor lid repair may leak more over time.
If the carafe body has hot spots, dents, or failed insulation, a full carafe replacement is usually the honest answer. Vacuum loss inside the body is not a simple home fix. At that point, check whether the maker offers warranty help or replacement parts.
Also consider the age of the full coffee maker. If the brewer runs cool, leaks, or brews very slowly even after descaling, the heat issue may involve both the machine and the carafe. In that case, replacing only one part may leave you disappointed.
Pros of part replacement: lower cost and less waste if the main unit is still good. Cons: parts may be hard to find, and shipping time can delay the fix. Pros of full carafe replacement: fast solution for failed insulation. Cons: higher cost, and it feels wasteful if only one part had failed.
Common Mistakes That Make a Good Thermal Carafe Seem Bad
Sometimes the carafe is fine, but daily mistakes make it seem weak. These mistakes are common, and they can make even a well built carafe disappoint you.
One mistake is skipping the preheat. A cold stainless steel carafe steals heat fast. People often judge the carafe after that first cold contact, even though the carafe never had a fair start.
Another mistake is leaving coffee in a partly full large carafe for too long. Less liquid means less stored heat. A nearly empty carafe cools fast. That does not always mean the insulation is bad.
A third mistake is forgetting the lid. If the lid is not screwed on fully, if the pour lever sticks open, or if the gasket sits crooked, steam slips out. The body may still work perfectly, but the coffee cools anyway.
People also hurt performance with rough cleaning. Harsh cleaners, bleach, metal scrubbers, and careless disassembly can damage seals or scratch surfaces. Those small harms add up. Gentle cleaning works better in the long run.
Another issue is poor timing. If you brew the coffee, leave it open while you cook breakfast, and pour your first cup ten minutes later, that lost heat is on the routine, not the carafe.
Pros of spotting these mistakes: you may fix the problem today without buying anything. Cons: habit based issues can return if you slip back into old routines.
A good rule helps here. If the carafe body stays cool on the outside and the lid seals well, your next place to look is your routine.
How to Prevent Heat Loss Problems From Coming Back
Once you fix the issue, a few steady habits will keep the carafe working much better. Prevention is simple, and it saves you from the same frustration next month.
Clean the carafe after each use. You do not need a full deep clean every day, but you do need a good rinse and a quick wash. Old coffee oil builds up fast. If you let it sit, odor and sealing problems follow.
Deep clean the carafe and lid on a regular schedule. If you drink coffee every day, a weekly deeper wash is a smart habit. Descale the coffee maker on a set schedule too. If your water is hard, do it more often. A clean brewer gives the carafe hotter coffee to hold.
Preheat the carafe before brewing. This one habit solves a lot of complaints. It takes only a few minutes, and the payoff is real.
Handle the carafe gently. Do not drop it in the sink. Do not knock it against the counter. A vacuum insulated body can fail from impact even if the outside shows only a small dent. Keep it out of the freezer and never put it in the microwave.
Store the lid dry and clean. If the gasket sits wet and dirty, it ages faster and can develop odor. Check the seal every so often so you catch wear before it becomes a heat problem.
Pros of prevention: lower cost, better tasting coffee, and longer carafe life. Cons: it takes routine. But the routine is easy, and it beats drinking warm coffee that should have stayed hot.
Final Thoughts
A thermal carafe that no longer keeps coffee hot is not always broken. Many times, it just needs the right fix. Start with the easy checks. Clean the inside well. Descale the brewer. Preheat the carafe. Inspect the lid and gasket. Then test for vacuum failure if the outside feels hot.
This order matters. It keeps you from wasting time. It also helps you separate a real insulation failure from a simple sealing or routine problem. That means you can fix what is fixable and replace only what truly needs replacing.
The most common wins are simple. A clean lid, a preheated carafe, and a hotter brew from a descaled machine often bring back a big part of the lost performance. If those steps do not help and the body develops hot spots, the insulation has likely failed.
The nice part is that you do not need a repair shop to figure this out. You can do the full check at home with basic tools and a little patience. And once your carafe is working better again, the same small habits will keep it that way.
If your goal is clear, it is this. Start hotter. Seal better. Clean often. Replace only after you test.
FAQs
Why does my thermal carafe feel cool outside but the coffee still gets cold fast
That usually points to a lid or routine problem, not a failed insulated body. Check whether the lid closes fully and whether steam escapes from the top. Also think about whether you skipped preheating or brewed only a small amount of coffee.
Can I use vinegar to clean a stainless steel thermal carafe
Yes, many people use diluted white vinegar to remove buildup and odor. Rinse very well after cleaning so the smell does not stay behind. If you want a gentler option for odor, baking soda and warm water also work well.
How do I know if the vacuum insulation is damaged
Pour very hot water into the empty carafe and wait a few minutes. Then touch the outside of the main body. If you feel hot spots, the insulation may be compromised. If the outside stays mostly cool, focus on the lid and your brewing habits.
Does brewing a half pot really make coffee cool faster
Yes, it often does. A partly filled carafe has more empty air space, and that helps the coffee lose heat faster. A fuller carafe usually keeps coffee hot longer because it holds more total heat.
Should I repair the lid or replace the whole carafe
Repair or replace the lid first if the body still passes the insulation test. A new gasket or lid can solve many heat problems at a lower cost. Replace the whole carafe if the body has hot spots, serious dents, or clear vacuum failure.
How often should I descale the coffee maker
It depends on your water and how often you brew. Many makers suggest descaling every few months, and some suggest cleaning after a set number of brews. If your coffee maker has a clean light, slow flow, or lower brew heat, descale sooner.

Hi, I’m Luna! I’m the voice behind CoffeePickster.com. I’m a coffee obsessive who’s spent way too many hours (and dollars) testing coffee makers so you don’t have to. I created this blog to help fellow coffee lovers find the right gear without the guesswork. Let’s brew something great together!