How to Disassemble and Clean a French Press Filter Completely?
Coffee oils, tiny grounds, and residue build up between the metal disks and mesh screen every single time you brew. A quick rinse under the tap is not enough to remove this buildup. Over time, those trapped oils go rancid and create unpleasant metallic or cardboard flavors in your coffee.
The good news? You can fix this in just a few minutes. Disassembling your French press filter is easier than most people think. Once you learn how the parts fit together, the whole process becomes second nature.
This guide walks you through every step of taking apart, cleaning, and reassembling your French press filter so your coffee tastes fresh and pure every single time. Let’s get your French press back to brewing the way it should.
Key Takeaways
- A French press filter has three main parts that stack together: a cross plate (retaining disk), a mesh filter screen, and a spiral plate (spring disk). All three must be separated for a proper clean. Rinsing the assembled filter only removes surface debris and leaves trapped oils and grounds between the layers.
- Coffee oils polymerize over time and form a hard, varnish like coating on stainless steel mesh. Regular dish soap handles fresh oils, but deep cleaning with baking soda, vinegar, or a dedicated coffee cleaner is needed every one to two weeks to break down this hardened residue.
- Reassembly order matters. The cross plate goes on the bottom, the mesh screen sits in the middle, and the spiral plate rests on top. Placing them in the wrong order creates gaps that let coffee grounds slip through during brewing.
- Never use metal utensils or abrasive scrubbers on any French press part. Metal scratches the glass beaker and damages the fine mesh screen. Stick to soft sponges, nylon brushes, and wooden or plastic tools.
- Replace your mesh filter screen every 6 to 12 months depending on how often you brew. A frayed or stretched screen lets too many grounds into your cup and reduces the quality of your coffee.
- Always dry all parts completely before reassembling. Moisture trapped between the filter layers creates an environment for mold and bacterial growth, which affects both taste and hygiene.
Why Your French Press Filter Needs a Full Disassembly
Most French press owners rinse their filter under running water after every brew and call it clean. That approach removes visible coffee grounds, but it does not address what happens between the metal layers.
The French press plunger consists of stacked disks that press tightly together. Coffee oils, micro grounds, and moisture get trapped in the narrow gaps between these parts every single time you push the plunger down.
These trapped oils react with oxygen over time. The unsaturated fatty acids in coffee oil break down into compounds that taste metallic, stale, or bitter. Scientists call this process oxidative rancidity. You cannot see it happening, but you can definitely taste it. If your coffee has developed an off flavor that fresh beans cannot fix, your filter is the likely cause.
Beyond flavor, there is a hygiene concern. Damp coffee residue stuck between filter layers creates a warm, nutrient rich environment where bacteria thrive. Studies on kitchen surfaces show that biofilms can form within 24 hours in moist conditions. A biofilm on your mesh screen resists ordinary rinsing. The only way to truly clean your French press filter is to take it apart completely.
A full disassembly takes less than 30 seconds once you understand the parts. You will be surprised how much brown sludge hides between those filter layers, even if you rinse your plunger after every use.
Understanding the Parts of a French Press Filter
Before you start unscrewing anything, it helps to know what you are working with. A standard French press plunger assembly contains five main components. The lid sits on top of the beaker and has a hole for the plunger rod to slide through. The plunger rod is the long metal shaft you grip and push down.
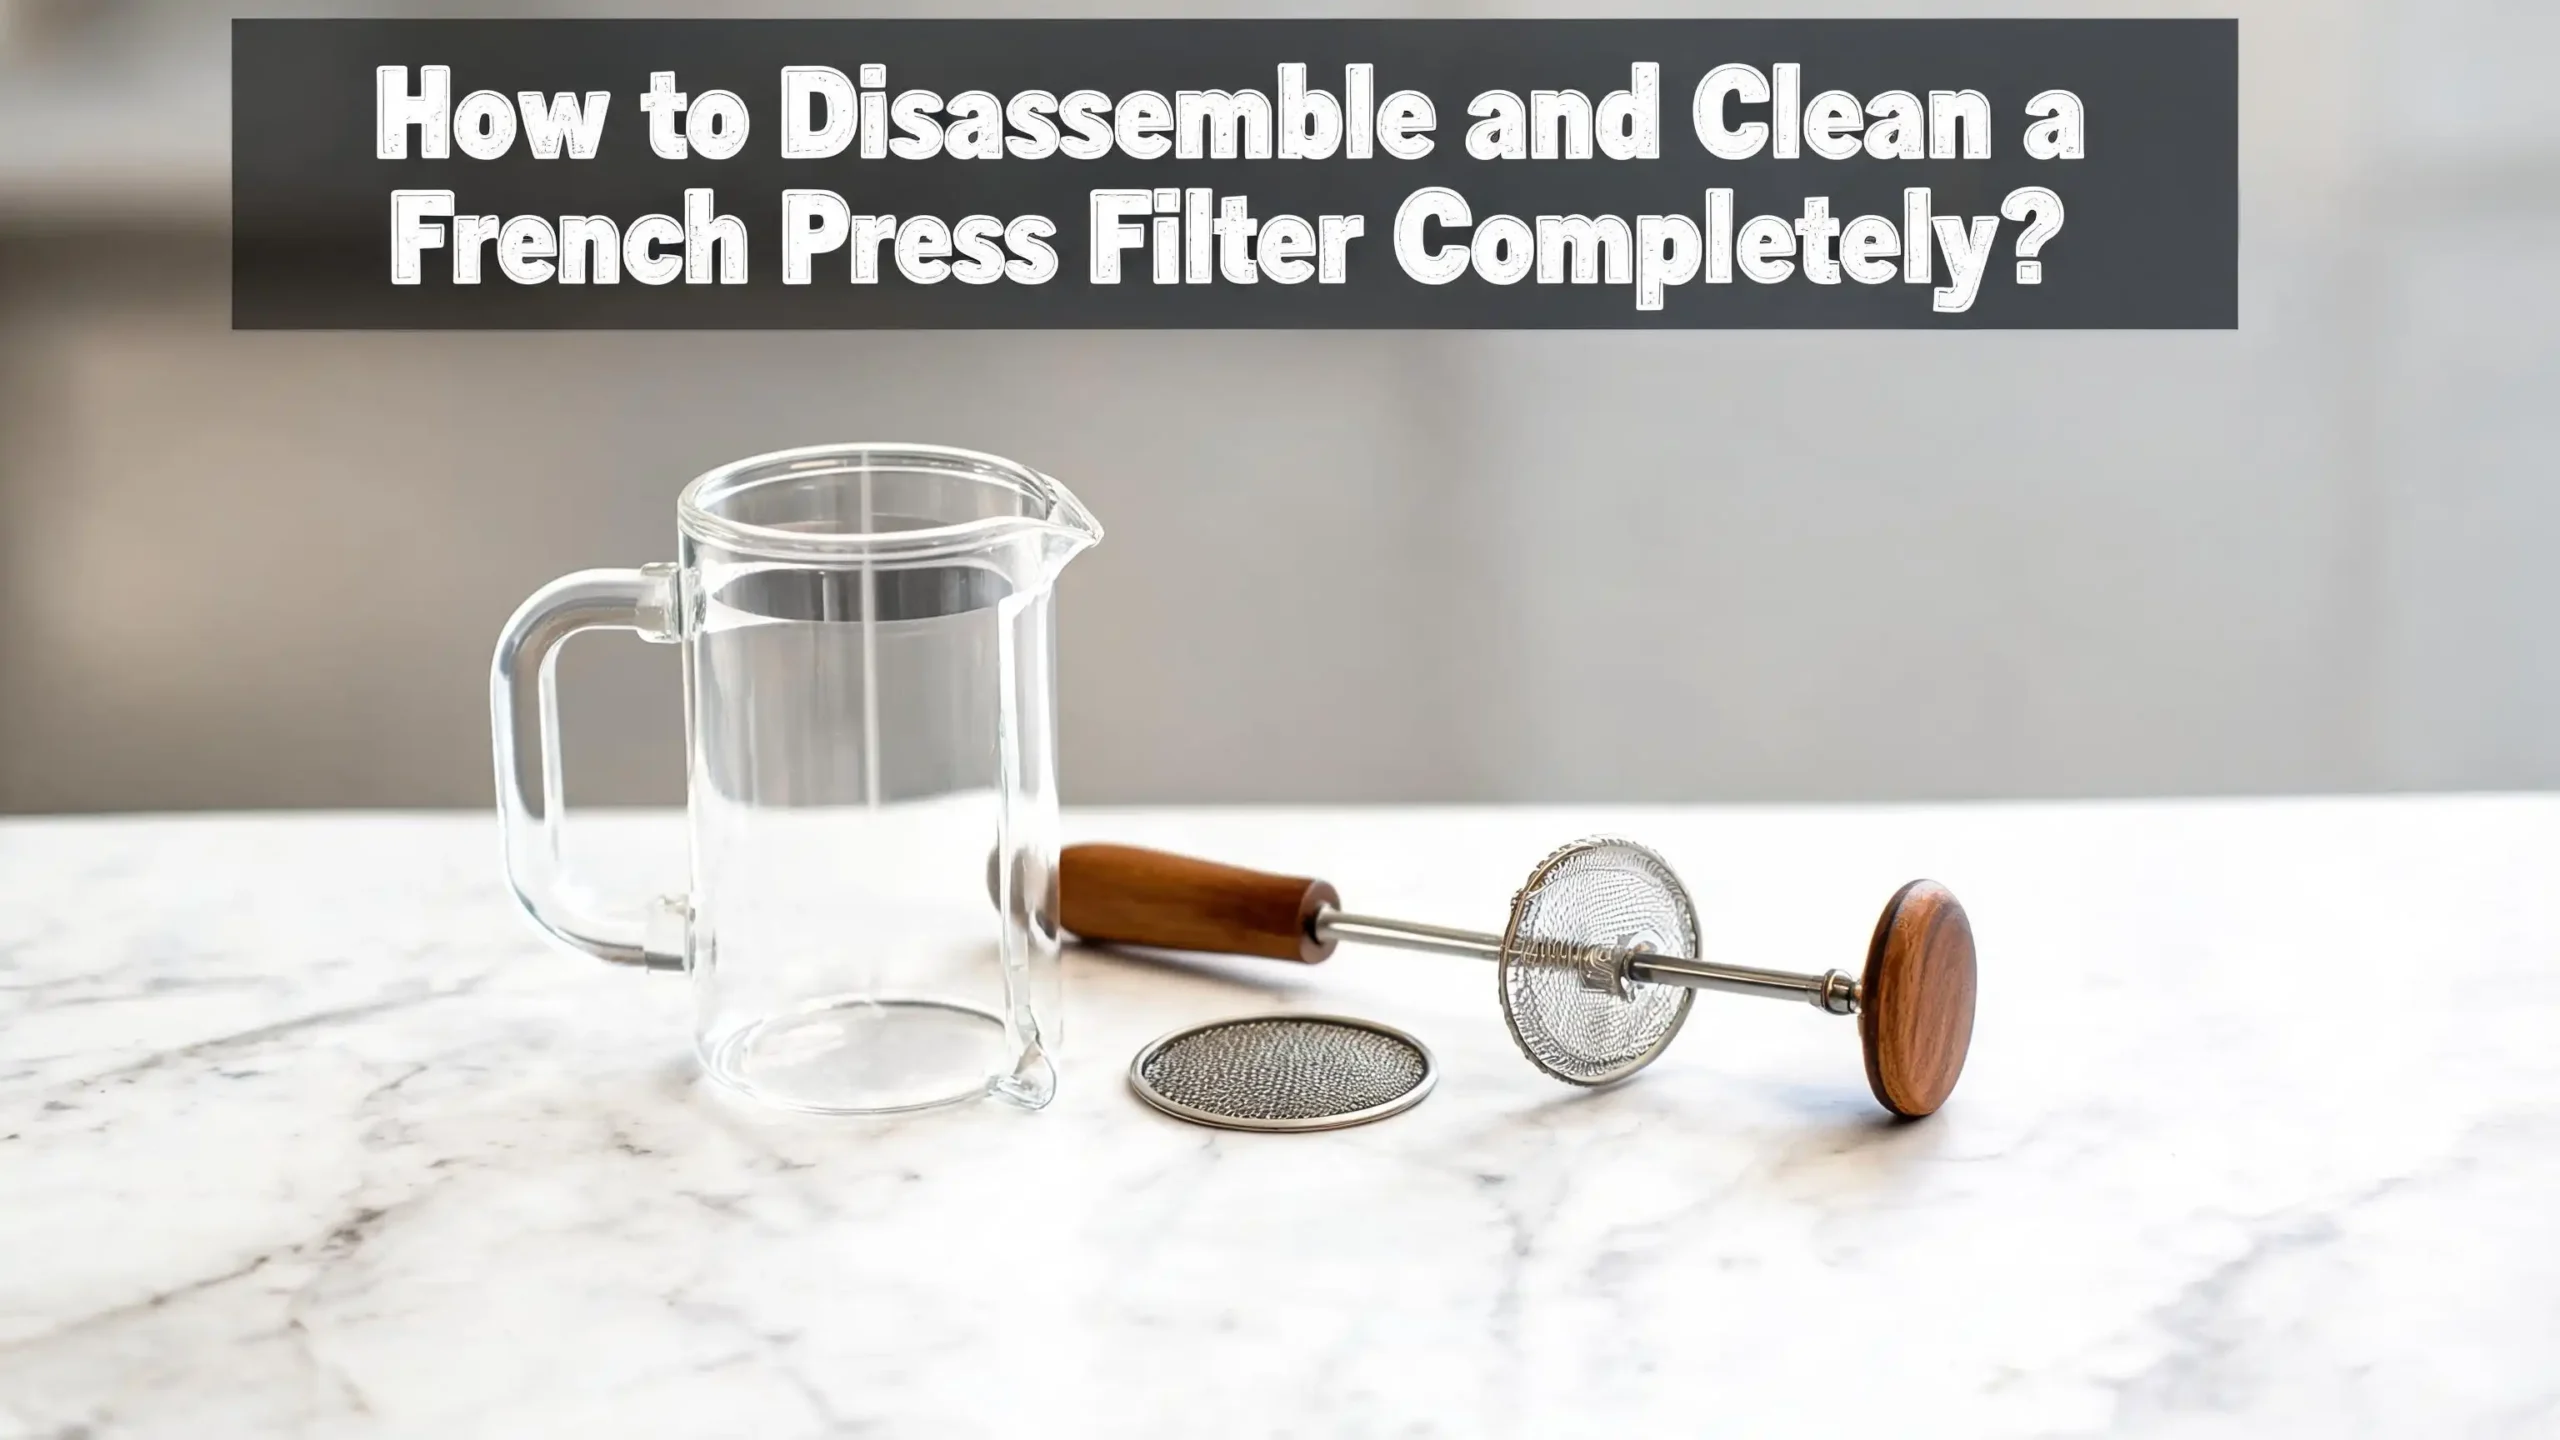
At the bottom of the rod, three circular parts stack together and form the actual filter mechanism. The first is the cross plate (also called the retaining disk). This flat metal disk has a threaded hole in the center that screws onto the plunger rod. It serves as the base of the filter assembly.
The second part is the mesh filter screen. This is a fine stainless steel mesh stretched across a circular frame. It does the actual work of separating coffee grounds from brewed coffee. This screen is the part that collects the most residue and needs the most attention during cleaning.
The third part is the spiral plate (also called the spring disk). This slightly curved or coiled disk sits on top of the mesh screen. Its spring tension creates a tight seal against the inner walls of the glass beaker. This seal prevents coffee grounds from slipping around the edges during plunging.
All three parts sandwich together and screw onto the rod. The cross plate goes on the bottom, the mesh screen sits in the middle, and the spiral plate rests on top. Understanding this order is essential for correct reassembly after cleaning.
Tools and Supplies You Need Before You Start
Gathering your supplies before you begin makes the process smooth and efficient. You do not need any special or expensive equipment. Everything you need is probably already in your kitchen. Here is what to have on hand.
A soft sponge or nylon brush works best for scrubbing the mesh screen and metal disks. Avoid steel wool, metallic scouring pads, or anything abrasive. These materials scratch the fine mesh and damage the stainless steel surface. Scratches create rough spots where coffee oils accumulate faster, which makes your cleaning problem worse over time.
You will need mild dish soap for everyday cleaning. For deeper cleans, keep white vinegar or baking soda available. Some coffee enthusiasts use a dedicated coffee equipment cleaner that contains sodium percarbonate. This compound breaks down hardened, polymerized coffee oils that regular soap cannot touch.
A wooden spoon or silicone spatula helps you remove spent coffee grounds from the beaker without risking cracks or scratches to the glass. Never use a metal spoon inside the glass carafe. One slip can cause a chip that turns into a crack later.
Keep a clean towel or drying rack ready for air drying the parts after washing. A small bowl is useful for soaking the disassembled filter parts during a deep clean. Having all your supplies within reach turns this task into a quick and painless routine rather than a chore you want to avoid.
How to Remove Coffee Grounds Safely
The first step in the cleaning process is getting rid of the spent coffee grounds from the beaker. This sounds simple, but doing it wrong can clog your sink or crack your glass carafe. Do not dump coffee grounds directly into the sink drain. A few stray grounds are fine, but a full load of wet grounds will accumulate in your pipes over time and cause clogs.
The best approach is to add a small amount of water to the beaker after you finish pouring your coffee. Swirl the water around to loosen the grounds from the bottom and sides. Then pour the mixture into a fine mesh strainer over the sink, a compost bin, or directly into your trash. Coffee grounds make excellent compost material, so this is also an environmentally friendly disposal method.
If grounds are stuck to the bottom or sides of the beaker, use a wooden spoon or silicone spatula to gently scrape them loose. Glass beakers are surprisingly fragile. A hard tap from a metal utensil can cause invisible micro fractures that weaken the glass. These fractures often lead to sudden breaks during future use.
Once you have removed the bulk of the grounds, give the beaker a quick rinse under warm water. This prepares it for a proper wash. Now you can shift your attention to the filter assembly, which is where the real cleaning work begins.
Step by Step Guide to Disassembling the Filter
Hold the lid with one hand and grip the plunger knob with the other. Pull the entire plunger assembly straight up and out of the beaker. Set the beaker aside for now. Your focus should be on the filter parts attached to the bottom of the rod.
Look at the bottom of the plunger assembly. You will see the cross plate, which is the flat disk closest to the rod. In most French press models, this disk has a small nut or threaded connection that screws onto the rod. Turn this nut counterclockwise to loosen it. Some models require you to hold the rod steady with one hand while turning the nut with the other.
Once you unscrew the nut, the three filter parts will separate and slide off the rod. The spiral plate comes off first since it sits on top. The mesh screen comes off next. The cross plate comes off last because it was threaded onto the rod.
If the parts feel stuck, do not force them. Dried coffee oils can act like glue and bond the layers together. Soak the entire plunger assembly in warm soapy water for five to ten minutes. This softens the residue and makes disassembly much easier. After soaking, try unscrewing again. The parts should separate with little effort.
Lay all the parts out on a clean towel. You now have the lid, the rod, the cross plate, the mesh screen, and the spiral plate. Each one needs individual attention during the cleaning stage.
How to Clean the Mesh Filter Screen Thoroughly
The mesh filter screen collects more residue than any other part of your French press. Fine coffee particles and oils get embedded in the tiny holes of the mesh every time you brew. A rinse under the faucet clears the surface, but the microscopic pores still hold trapped oils.
Start by holding the mesh screen under hot running water. Use your fingers to gently rub both sides of the screen. You will feel a slight slippery film. That film is coffee oil. Apply a small drop of mild dish soap to a soft sponge and gently scrub both sides of the mesh. Work in circular motions and pay attention to the edges where the mesh meets the metal frame.
For a deeper clean, create a paste with baking soda and a few drops of water. Apply this paste to both sides of the mesh screen and let it sit for two to three minutes. Baking soda is a mild abrasive that lifts stuck on residue without damaging the stainless steel. Scrub gently with a soft brush and rinse thoroughly under hot water.
If the mesh screen has turned brown or yellow, that discoloration is polymerized coffee oil. Regular soap will not remove it. Soak the screen in a solution of one part white vinegar to three parts hot water for 30 minutes to an hour. The acid in the vinegar breaks down the hardened oil. Rinse the screen well after soaking to remove any vinegar smell.
Cleaning the Cross Plate and Spiral Plate
The cross plate and spiral plate often get overlooked during cleaning because they appear smooth and clean at first glance. Look closely and you will see a thin brown film on both surfaces. This film is dried coffee oil mixed with micro grounds that squeezed between the layers during plunging.
Wash each disk separately under hot running water. Apply dish soap to a soft sponge and scrub both sides of each plate. The cross plate usually has grooves or ridges on one side that help grip the mesh screen. Pay extra attention to these grooves because coffee residue hides in the crevices.
The spiral plate has a slightly curved or coiled edge that creates the spring seal against the glass walls. Run your sponge along this curved edge carefully. Residue builds up along the spring coil and reduces the seal quality over time. A compromised seal allows coffee grounds to bypass the filter and end up in your cup.
For a deep clean, soak both plates in the same baking soda or vinegar solution you used for the mesh screen. Let them sit for 15 to 30 minutes, then scrub and rinse. If you notice any mineral deposits or white chalky buildup, a vinegar soak dissolves these calcium carbonate deposits effectively.
Inspect each plate after cleaning. If you see any bends, warping, or damage, consider replacing the affected part. Damaged plates create gaps in the filter assembly and produce a gritty cup of coffee.
Cleaning the Plunger Rod and Lid
The plunger rod and lid are easy to clean but are still important parts of the process. Coffee residue works its way up the rod through repeated plunging, and the lid collects moisture and grounds around its rim and the hole where the rod passes through.
Wipe down the plunger rod with a soapy sponge from top to bottom. Pay special attention to the threaded end at the bottom where the cross plate attaches. Dried coffee and oil accumulate in the threads and make future disassembly difficult if left uncleaned. Use an old toothbrush to scrub the threads clean.
The lid has a small opening where the rod slides through. Grounds and moisture collect around this opening. Wipe the lid with a soapy sponge, rinse it under hot water, and dry it completely. Some lids have a small spout or channel for pouring. Clean inside this channel with a brush or the corner of a sponge.
The glass beaker deserves attention too. Fill it with warm soapy water and use a soft sponge or bottle brush to scrub the interior walls. Coffee oils coat the glass and leave a thin brownish film that affects flavor. For stubborn stains, add a tablespoon of baking soda to the warm water and let it soak for ten minutes before scrubbing.
Rinse every part thoroughly under clean running water. Any soap residue left behind will create off flavors in your next brew.
Deep Cleaning Methods for Stubborn Buildup
Sometimes a regular soap and water wash is not enough. If you have gone weeks or months without disassembling your filter, you will likely encounter stubborn brown stains and hardened oil deposits that resist standard cleaning. Here are three effective deep cleaning methods.
The Baking Soda Method: Mix two tablespoons of baking soda with enough warm water to create a thick paste. Apply this paste to all metal parts and let it sit for 15 minutes. Baking soda is mildly alkaline and breaks down organic residue. Scrub with a soft brush and rinse well. This method works for moderate buildup.
The Vinegar Soak Method: Combine one part white vinegar with three parts hot water in a bowl large enough to hold all your filter parts. Submerge the cross plate, mesh screen, and spiral plate in this solution. Let them soak for one to two hours, or overnight for heavy buildup. The acetic acid dissolves mineral deposits and loosens polymerized oils. Rinse thoroughly to eliminate the vinegar smell.
The Boiling Water Method: Bring a pot of water to a rolling boil and carefully place your disassembled metal filter parts into the pot. Let them boil for five minutes. The intense heat melts away coffee oils and kills bacteria. Remove the parts with tongs and let them cool before handling. Do not boil the glass beaker or any plastic components.
For the most effective results, combine methods. Start with a vinegar soak, follow with a baking soda scrub, and finish with a hot water rinse. Your filter parts will look like new.
How to Reassemble Your French Press Filter Correctly
Putting your French press back together is just as important as cleaning it. An incorrectly assembled filter lets coffee grounds slip through and ruins your brew. Follow this exact order for a proper seal.
Start by placing the cross plate (retaining disk) on a flat surface. This disk has the threaded hole in the center. The flat side faces down and the side with the raised rim or grooves faces up. The grooves help hold the mesh screen in position.
Next, place the mesh filter screen directly on top of the cross plate. Center it carefully so the edges align. The screen should sit flat with no wrinkles or bunching. A wrinkled screen creates gaps where grounds escape during brewing.
Now place the spiral plate on top of the mesh screen with the curved or spring edge facing upward. The spiral plate’s spring tension is what creates the seal against the glass walls of the beaker. If you place it upside down, the seal will not work properly.
Hold all three parts stacked together and insert the plunger rod through the center hole from the top. Thread the nut at the bottom of the rod into the cross plate and tighten it clockwise. Make it snug but do not over tighten. Excessive force can warp the disks or strip the threads.
Test the assembled plunger by sliding it up and down inside the beaker. It should move smoothly with slight resistance from the spiral plate pressing against the glass. If it feels too loose or too tight, disassemble and check the alignment of the parts.
How Often Should You Fully Disassemble and Clean
The frequency of full disassembly depends on how often you use your French press. Daily users should do a complete disassembly and clean at least once a week. A quick rinse after each brew handles surface level grounds, but the oil trapped between the layers needs weekly attention.
If you use your French press a few times per week, a full disassembly every two weeks is usually sufficient. Monthly users can get away with cleaning the filter each time they brew since the usage is infrequent enough to prevent significant buildup.
A deep clean with vinegar, baking soda, or a coffee equipment cleaner should happen every two to four weeks for daily users. This removes the polymerized oils that standard dish soap cannot break down. You will notice a significant improvement in the taste of your coffee after a deep clean, especially if you have not done one in a while.
Watch for these signs that your filter needs immediate attention. A visible brown or yellow film on the mesh screen means oils have polymerized. A stale or rancid smell coming from the filter assembly indicates old oils breaking down. Coffee that tastes bitter, metallic, or flat despite using fresh beans often points to a dirty filter.
Replacing the mesh filter screen every 6 to 12 months is a good practice for regular brewers. Even with perfect cleaning, the mesh stretches and the holes widen over time. A fresh screen restores the filter performance and keeps your coffee clean and full of flavor.
Common Mistakes to Avoid During Cleaning
Several common errors can damage your French press or make the cleaning process less effective. The biggest mistake is using metal tools inside the glass beaker. A metal spoon or fork can chip or crack the glass. Always use wooden, silicone, or plastic utensils.
Another frequent mistake is putting coffee grounds down the drain. A few stray grounds will not cause problems, but dumping the full contents of your beaker into the sink repeatedly will eventually clog your pipes. Use a strainer, compost bin, or trash can instead.
Avoid using abrasive cleaners or steel wool on the mesh screen. The fine mesh is delicate. Aggressive scrubbing damages the screen, widens the holes, and lets more grounds into your coffee. Stick to soft sponges and nylon brushes.
Some people skip disassembly because the filter parts feel stuck together. Forcing stuck parts apart can bend or warp the disks. Soaking in warm soapy water for a few minutes will loosen dried oils and make separation easy.
Do not reassemble the filter parts while they are still wet. Moisture trapped between the disks creates conditions for mold growth and bacterial biofilms. Always let all parts air dry completely on a towel or drying rack before putting them back together.
Finally, avoid using bleach on stainless steel filter parts. Bleach can corrode stainless steel and leave a chemical residue that affects the taste of your coffee. Vinegar, baking soda, and food safe coffee cleaners are much safer options.
Tips for Keeping Your French Press Filter Clean Longer
Prevention reduces how often you need a full deep clean. Using coarse ground coffee is the single best thing you can do to keep your filter cleaner between washes. Fine or medium grounds produce more micro particles that clog the mesh and pack into the gaps between filter layers.
Rinse the plunger assembly under hot water immediately after every brew. Do not let the spent grounds sit in the beaker for hours. The longer wet grounds stay in contact with the filter, the more oils absorb into the metal and the faster bacterial growth begins.
After rinsing, do a quick “pump clean.” Add warm water and a drop of dish soap to the empty beaker. Reinsert the plunger and push it up and down several times. This pumping action forces soapy water through the mesh and flushes out fresh oil before it has time to harden. Dump the soapy water, rinse with clean water, and repeat the pumping motion once more.
Store your French press with the plunger pulled out and resting on top of the beaker, not pressed down inside. This allows air circulation and prevents moisture from getting trapped in the filter assembly.
If you will not use your French press for an extended period, clean it thoroughly, dry all parts completely, and store it disassembled. This prevents any residual moisture from causing mold or stale odors while the press sits unused.
When to Replace Your French Press Filter Parts
Even with the best cleaning routine, French press filter parts do not last forever. The mesh filter screen is the component that wears out fastest. With regular use and cleaning, the mesh stretches. The fine holes gradually widen, which allows more coffee sediment to pass through into your cup.
Inspect your mesh screen during each full disassembly. Hold it up to the light and look for small tears, frayed spots, or areas where the mesh appears uneven. A damaged screen compromises the quality of your coffee and should be replaced immediately. Most manufacturers recommend replacing the mesh screen every 6 to 12 months for daily users.
The cross plate and spiral plate are more durable because they are solid metal. However, check them for warping, bending, or corrosion. A warped disk creates an uneven surface that prevents the mesh screen from sitting flat. This uneven contact allows grounds to escape around the edges.
The plunger rod can develop rust at the threaded end if moisture is left trapped in the assembly. Inspect the threads regularly. If you see rust or corrosion, replace the rod. Brewing coffee through a rusty component is not safe and affects the taste of your drink.
Standard French press filter parts follow universal sizing. A 34 ounce (8 cup) press uses a specific diameter, and a 12 ounce (3 cup) press uses a smaller one. Measure your current screen before ordering a replacement to ensure a proper fit. Most replacement parts are made from 18/8 stainless steel, which resists corrosion and maintains food safety.
Frequently Asked Questions
Can I put my French press filter parts in the dishwasher?
Most French press metal filter parts are technically dishwasher safe. However, hand washing is still the better choice. Dishwashers may not remove the oil and grounds trapped between the stacked layers because water jets cannot reach those tight spaces. The high heat and harsh detergent in dishwashers can also cause discoloration on stainless steel over time. If you do use a dishwasher, always disassemble the filter parts first and place them on the top rack. Hand washing gives you more control and produces a cleaner result.
How do I know if my mesh filter screen needs to be replaced?
Hold the screen up to a light source. If you see any tears, holes larger than the surrounding mesh, or frayed edges, replace it. Another sign is an increase in coffee sediment in your cup. If your coffee seems grittier than usual despite using coarse ground beans, the mesh has likely stretched or developed small holes. A fresh screen makes a noticeable difference in the clarity of your brew.
Why does my French press coffee taste bitter even after cleaning?
Bitter coffee from a French press often comes from over extraction rather than a dirty filter. Check your brew time and make sure you are not steeping longer than four minutes. However, if you have confirmed your technique is correct and the bitterness persists, the cause may be polymerized coffee oil on the mesh screen. A regular soap wash does not remove polymerized oils. Try a deep clean with vinegar or baking soda to strip away hardened residue that adds stale, bitter flavors to your coffee.
Is it safe to use vinegar to clean stainless steel filter parts?
White vinegar is safe for stainless steel and very effective at dissolving mineral deposits and breaking down dried coffee oils. Use a diluted solution of one part vinegar to three parts water for regular cleaning. For heavy buildup, you can increase the concentration to a 50/50 mix. Always rinse the parts thoroughly after a vinegar soak to remove any lingering smell or taste. Avoid leaving stainless steel submerged in undiluted vinegar for extended periods because the acid can cause pitting on the surface.
Can I use bleach to clean my French press filter?
Bleach is not recommended for French press filter parts. Chlorine bleach can corrode stainless steel and leave behind a chemical taste and odor that is very difficult to rinse away completely. Instead, use food safe alternatives like baking soda, white vinegar, or a dedicated coffee equipment cleaner that uses sodium percarbonate. These options are effective, safe for stainless steel, and do not leave harmful residues on your brewing equipment.
How long does a full disassembly and cleaning take?
A complete disassembly, cleaning, and reassembly takes about five to ten minutes for a routine wash. A deep clean with soaking adds 30 minutes to two hours of passive soaking time, but the actual hands on work remains around five to ten minutes. Once you have done it a few times, the process becomes fast and automatic. The small time investment pays off with noticeably better tasting coffee and a healthier brewing setup.

Hi, I’m Luna! I’m the voice behind CoffeePickster.com. I’m a coffee obsessive who’s spent way too many hours (and dollars) testing coffee makers so you don’t have to. I created this blog to help fellow coffee lovers find the right gear without the guesswork. Let’s brew something great together!