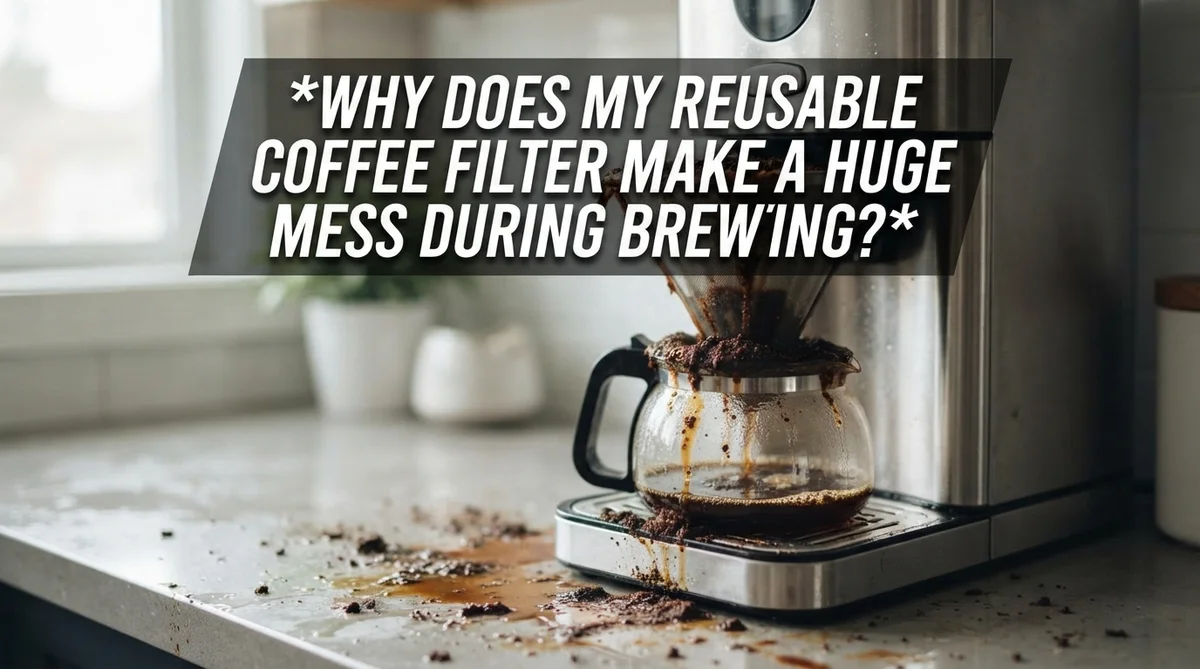
Why Does My Reusable Coffee Filter Make A Huge Mess During Brewing?
Do you love your reusable coffee filter but hate the mess it makes? You are not alone.
Many coffee lovers switch to reusable filters to save money and cut waste. But soon, they face soggy grounds, clogged drains, and a sink full of coffee bits.
This mess usually happens for simple reasons. Fine grounds escape during brewing. Water weight can strain the filter. Grounds left to sit can dry and stick, making cleanup even harder.
The good news? This problem is fixable. With a few small changes, you can brew clean coffee every single day.
In this guide, we will explore why your reusable filter creates such a mess. We will look at common mistakes people make without realizing it. You will also learn simple prevention steps to keep your kitchen clean.
In a Nutshell
- Grounds escape during brewing when they are too fine. This clogs your drain and creates extra cleanup work.
- Old coffee residue builds up on filters over time. This leads to bacteria and mold growth if you skip regular cleaning.
- Always empty grounds right after brewing. Use a separate container instead of pouring them straight down the drain.
- Rinse your filter with cold water immediately after use. This stops buildup before it hardens on the mesh.
- Discard that first rinse water before adding fresh coffee. Brewing over old rinse water often causes a papery taste.
- Metal filters naturally clog over time with use. Periodic deep cleaning keeps them working like new.
- Avoid using grounds that are too fine for your filter type. Fine grounds slip through easily and create bigger messes.
Understanding How Reusable Coffee Filters Work
Reusable coffee filters work by trapping ground coffee while allowing liquid to pass through. The filter sits between your coffee grounds and the cup or pot below. Water flows down through the grounds, picks up flavor and oils, then passes through the filter material into your brew.
The key difference between reusable and disposable filters is the material. Metal mesh filters have tiny holes that let water through but stop most grounds. Cloth filters work similarly but use woven fabric instead. Both types rely on the right grind size to function properly.
Here’s where mess happens. Fine grounds slip through the mesh or fabric because they are smaller than the filter holes. This is the main culprit behind your messy brews. When grounds escape, they float in your coffee and can clog your drain if you pour them down the sink.
Another issue involves filter buildup over time. Coffee oils and residue stick to the filter material with each use. This buildup gradually closes the tiny holes in your filter. The filter becomes less effective at trapping grounds, so more escape into your cup.
Water also plays a role. Brewing on top of rinse water creates problems because the filter hasn’t fully dried. Extra moisture can weaken the filter material and allow grounds to slip through more easily.
Metal filters face a specific challenge. They naturally clog as coffee residue accumulates in the mesh. This happens slowly with regular use. The clogging is normal and doesn’t mean your filter is broken.
Understanding these basics helps you prevent mess. Your filter isn’t defective. The problem comes from either the grind size you use, how you clean and maintain your filter, or how you prepare it before brewing. Each issue has a simple fix that we will cover next.
Top Reasons Your Reusable Filter Is Making a Mess
Your reusable coffee filter makes a mess for several specific reasons. Let’s break down what actually happens during brewing.
Fine grounds escape through the filter mesh. When your coffee grind is too small, particles slip right through the holes. These grounds end up in your cup, your sink, or floating in your carafe. The finer your grind, the more likely this becomes a problem.
Buildup clogs the filter over time. Coffee residue sticks to the filter material after each use. Old oils and dried grounds create layers that block water flow. This buildup happens faster than you might think, especially with metal filters.
Water weight puts pressure on weak spots. When hot water sits on top of your grounds, it creates downward pressure. If your filter has weak spots or tiny tears, grounds escape under that pressure. This is why some brews are messier than others.
Rinsing water mixes with fresh grounds. Many people rinse their filter, then immediately add new coffee without letting it dry. That leftover moisture creates a wet environment. Wet grounds clump together and can slip through gaps more easily.
Bacteria and mold grow in damp filters. Filters stay wet long after brewing ends. Dark, damp conditions create the perfect home for bacteria and mold. This buildup affects how water flows through the filter during your next brew.
Grounds dry onto the filter surface. When you leave grounds sitting in the filter for hours, they dry and stick hard. These dried particles become part of the filter itself. Your next brew pushes water through this crusty layer, causing splashing and overflow.
Each of these issues compounds the others. A clogged, dirty filter with fine grounds creates the worst mess. Understanding what causes each problem helps you fix it step by step.
The Role of Grind Size and Water Volume in Filter Overflow
Grind size and water volume work together to create overflow problems in your reusable coffee filter. When these two factors get out of balance, your brewing becomes messy and frustrating.
Fine grounds slip through filter holes when your grind is too small. The mesh or metal material cannot trap particles that are powder-like. These grounds end up in your cup and can escape down the drain. Coarser grounds stay trapped inside the filter where they belong. You need grounds that match your specific filter type.
Water volume matters just as much as grind size. Too much water creates excessive pressure on the grounds and filter material. The weight of hot water pushes down on everything beneath it. This downward force can rupture weak spots in your filter or force grounds out the sides. The overflow happens quickly once pressure builds up.
The combination becomes problematic when you use fine grounds with too much water. Your filter receives double stress. The small particles cannot block water flow, and the heavy water volume adds pressure. This is when your coffee maker overflows onto the counter.
Finding the right balance requires simple adjustments. Start with medium grind coffee. This size works well for most reusable filters. Measure your water carefully and avoid overfilling. Leave some space between the water line and the top of your filter basket.
Test different amounts until you find what works. Some filters handle more water than others. Your coffee maker’s design also affects how much water fits safely. Pay attention to how your specific setup behaves.
Matching grind size to your filter type prevents overflow. Matching water volume to your filter capacity prevents pressure problems. These two elements work as a team. Get them right, and your brewing becomes clean and simple.
Step-by-Step Guide to a Clean, Mess-Free Brew
Start by removing used grounds immediately after your coffee finishes brewing. Don’t let them sit in the filter. The longer grounds stay wet, the more they stick to the mesh and create buildup.
Collect your grounds in a separate container before disposal. This simple step prevents grounds from going down your drain, which is where most mess problems begin. A small bowl or compost bin works perfectly for this task.
Rinse your filter right away with cold water. Hot water can cook residue onto the filter material, making it harder to clean. Let the water run through completely until it comes out clear.
Make sure your filter drains completely before you add fresh grounds and water. This prevents old rinse water from mixing with your new coffee. Old water creates a papery taste and adds to the mess during brewing.
Pat your filter dry with a clean cloth if you’re brewing immediately after rinsing. A damp filter can cause grounds to clump together, which leads to overflow and spillage.
Check your grind size before each brew. Fine grounds escape through the mesh easily, so use a medium grind for most reusable filters. Coarser grounds stay trapped where they belong.
Fill your brewer with the correct water amount for your filter size. Too much water creates pressure that forces grounds through the mesh. Follow your brewer’s guidelines for proper water levels.
Clean your filter thoroughly between uses. Bacteria and mold grow in damp filters left sitting overnight. A quick rinse and air dry prevents these problems from developing.
Store your clean, dry filter in an open container where air can reach it. Never store it wet or in a sealed space. Good airflow keeps your filter fresh and prevents mold growth.
These daily habits eliminate most mess problems before they start.
Proper Post-Brew Cleaning and Grounds Disposal
After your coffee brews, the real work begins. Remove used grounds immediately while they’re still slightly damp. Wet grounds are easier to handle than dried ones, which stick stubbornly to filter fibers.
Don’t pour grounds directly down your drain. This clogs pipes and disposal systems quickly. Instead, collect grounds in a separate container like a small bowl or compost bin. You can then dispose of them in the trash or add them to your garden.
Rinse your filter right away with cold water. Hot water can set stains and residue into the material. Let cold water run through the filter mesh to flush out remaining particles. This step matters because leftover grounds attract bacteria and mold growth.
Make sure your filter drains completely before storing it. Shake out excess water gently over your sink. Pat the filter dry with a clean cloth if you have time. A damp filter stored in a closed drawer creates the perfect environment for mold.
Store your clean filter in an open container where air can circulate around it. This prevents moisture from getting trapped. Never seal a wet filter in a plastic bag or airtight container.
For metal filters that develop stubborn buildup over time, soak them weekly in hot water mixed with a small amount of dish soap. Let them sit for 10 to 15 minutes, then scrub gently with a soft brush. This deep clean removes oils and residue that regular rinsing misses.
Your drain stays clear when you handle grounds properly. Your filter lasts longer when you clean it immediately. These simple habits prevent the mess before it starts and keep your brewing experience frustration free.
Common Mistakes That Lead to Bigger Messes
You’re likely making one of several simple mistakes during the brewing process. Understanding these errors helps you stop the mess before it starts.
Using grounds that are too fine is the biggest culprit. Fine grounds slip right through filter holes and escape into your cup or onto your countertop. They also absorb water and become heavier, which can rupture or overflow your filter. Test a coarser grind to see if this solves your problem immediately.
Another common error is brewing on top of leftover rinse water. After you clean your filter, water pools inside it. When you add fresh grounds and hot water, this extra moisture causes overflow. Always make sure your filter drains completely and is nearly dry before brewing again.
You might also be adding too much water for your filter’s capacity. Each filter has limits on how much liquid it can hold during brewing. Overfilling creates pressure that forces grounds and water out the sides. Check your brewer’s instructions to learn the correct water amount for your specific filter size.
Allowing grounds to dry on your filter between uses creates another problem. Dried grounds harden and stick to the filter mesh. This buildup clogs the filter and prevents water from draining properly during your next brew. This clogging forces water to back up and overflow.
Finally, some people skip rinsing their filter right after brewing. Wet grounds left sitting in your filter start to decompose and create mold. This buildup accumulates over time and gradually reduces how well your filter works.
The solution is simple: remove grounds immediately, rinse with cold water right away, let it drain completely, and store it dry in an open container. These small steps prevent almost all brewing messes from happening in the first place.
Troubleshooting Persistent Clogging and Residue Buildup
Persistent clogging happens when residue builds up inside your filter over time. This buildup traps new grounds and slows water flow, causing overflow and mess during brewing.
Metal filters are especially prone to gradual clogging. The tiny mesh holes catch microscopic coffee particles that regular rinsing doesn’t remove. Each brew adds another layer of buildup. Eventually, water takes longer to pass through, and pressure increases inside your brewer.
The key to preventing this problem is immediate action after brewing. Remove used grounds right away before they dry and stick to the filter mesh. Dried grounds bond to the surface and become much harder to remove later.
Rinse your filter with cold water immediately after emptying the grounds. Use your fingers to gently rub the mesh while water runs through it. This removes loose particles before they dry and cement into place.
For filters with stubborn buildup, soak them weekly in hot water. The heat softens dried residue and makes it easier to rinse away. Gentle brushing during soaking helps loosen stuck particles without damaging the mesh.
Never allow your filter to air dry with residue still on it. Pat it completely dry with a clean cloth after rinsing. Store it in an open container where air circulates freely around all sides.
Check your grind size too. Grounds that are too fine slip through the mesh and create clogs. Coarser grinds sit on top of the filter instead of passing through the holes.
Regular maintenance prevents major clogging problems. Clean your filter immediately after each use, soak weekly for deep cleaning, and store it properly when dry. This simple routine keeps water flowing smoothly and eliminates those frustrating brewing messes.
Final Thoughts
A messy reusable filter is not a life sentence. Most problems come down to a few simple habits.
Grind size matters more than you think. Too fine, and grounds slip through the mesh. Too coarse, and water flows too fast. Find that middle ground and stick to it.
Timing is everything with cleanup. Empty grounds right after brewing. Rinse the filter with cold water immediately. These two steps prevent most disasters.
Your drain will thank you too. Grounds belong in a trash bin or compost pile, not down the sink. This single change saves you from clogged pipes and expensive plumber visits.
Metal filters need extra attention. Their tiny mesh holes trap particles that regular rinsing might miss. Weekly deep cleaning keeps them working like new.
Don’t skip the drying step. A damp filter left in a closed space breeds bacteria and mold fast. Always let it dry fully before you tuck it away.
Storage matters just as much as cleaning. Keep your filter somewhere air can reach it. This simple choice stops moisture problems before they start.
Brewing on top of old rinse water creates that papery taste nobody wants. Always dump the rinse water first. Then add your fresh coffee.
Think about water amount too. Overloading your filter with too much water adds weight it cannot handle. This causes tears and rips over time.
The good news is this: every issue here has an easy fix. Small changes in your routine make a huge difference in mess reduction.
Reusable filters reward consistency. Clean them the same way every time. Store them properly between uses.
Do this, and your coffee mornings become simple and mess free. Your filter will last longer too. That means better coffee and less cleanup stress for you.
Frequently Asked Questions
Why do grounds escape through my reusable filter during brewing?
Fine coffee grounds slip through the mesh holes easily. This happens when your grind size is too coarse for your filter type. Metal filters have larger openings than paper filters, so they let more particles pass through. You might also be overfilling your filter or adding too much water, which creates pressure that forces grounds through the gaps.
How do I prevent grounds from going down my drain?
Collect grounds in a separate container before disposal. Never pour used grounds directly down the drain. Let your filter sit over a small bowl or cup for a few seconds after brewing. This catches any loose particles that would otherwise cause drain problems.
What causes that papery taste in my coffee?
You’re likely brewing on top of leftover rinse water. After rinsing your filter, let it drain completely before adding fresh coffee. Old water sitting in the filter creates an off flavor. Make sure your filter is nearly dry before you start your next brew.
Why does my metal filter keep getting clogged?
Metal filters gradually accumulate microscopic coffee particles inside the mesh over time. This buildup is normal and happens to all metal filters. Soak your filter weekly in hot water to remove stubborn residue. Immediate rinsing after each use slows down this clogging process significantly.
When should I replace my reusable filter?
If your filter has visible damage, tears, or rust spots, it’s time for a new one. Filters that clog frequently even after proper cleaning may need replacement. Most reusable filters last one to three years with regular care.

Hi, I’m Luna! I’m the voice behind CoffeePickster.com. I’m a coffee obsessive who’s spent way too many hours (and dollars) testing coffee makers so you don’t have to. I created this blog to help fellow coffee lovers find the right gear without the guesswork. Let’s brew something great together!