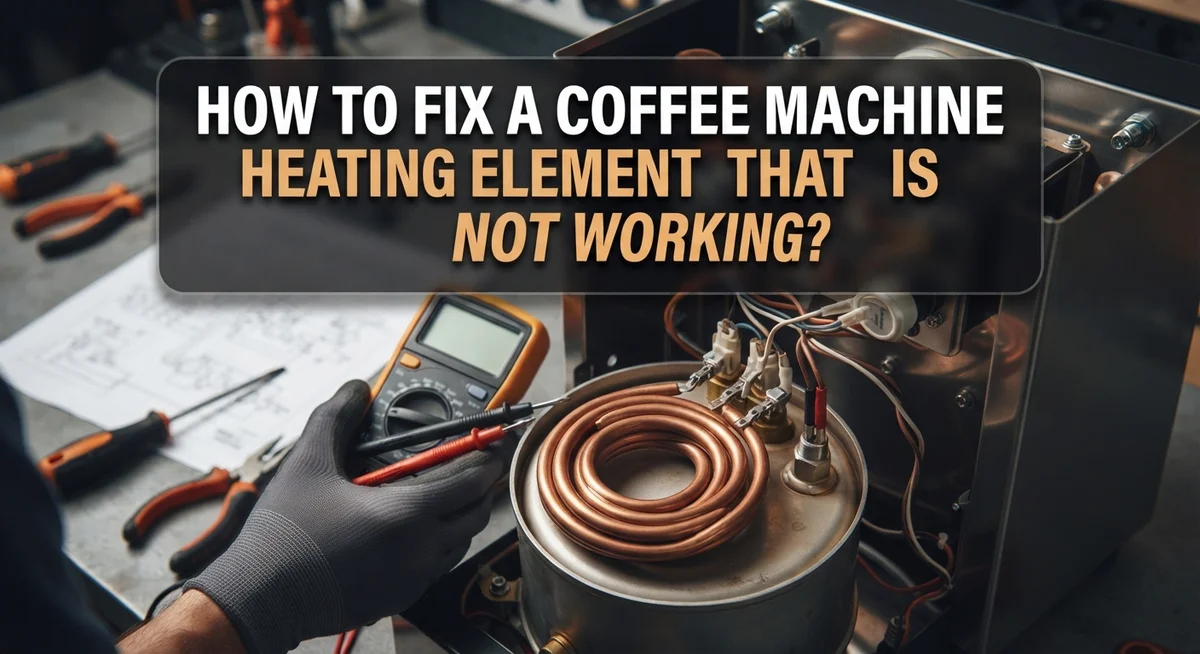
How To Fix A Coffee Machine Heating Element That Is Not Working?
Your coffee machine turns on but the water stays cold. This is one of the most frustrating problems for coffee lovers. Most of the time, the culprit is a faulty heating element.
The good news is that you do not need to buy a new machine right away. Many heating element problems come from simple issues like mineral buildup or a failed thermostatic switch.
In this guide, we will walk you through the exact steps to diagnose the problem. You will learn how to check for power supply issues and test the element with a multimeter.
By the end of this article, you will know exactly how to fix your machine. You will also know when it makes more sense to repair versus replace it entirely.
In a Nutshell
Check the power first. Make sure the outlet and cord work before you blame the element. A loose plug can mimic a heating failure.
Clean before you replace. Mineral buildup often blocks heat transfer. A good descale might solve the problem instantly.
Test with a multimeter. Unplug the machine and check for continuity. Infinite resistance means the element is truly broken.
Never solder a crimped connection. These parts are built to be swapped out, not fixed with heat. Always use a proper replacement part.
Weigh the cost. Compare the price of a new element to the cost of the whole machine. For mid range machines, repairing is usually the smarter choice.
Inspect the thermostat too. Sometimes the switch fails, not the element itself. This part also needs testing during diagnosis.
Understanding How a Coffee Machine Heating Element Works
A coffee machine heating element is a metal coil or tube that warms water. It sits inside your machine and connects to the water reservoir. When you turn on your machine, electricity flows through this element and creates heat.
The heating element works like a tiny electric stove. Electricity passes through a resistant metal wire. This resistance causes the wire to get hot. Hot water then flows through your coffee grounds and into your cup.
Your machine has a thermostat too. This is a temperature control switch. It tells the heating element when to turn on and off. The thermostat keeps water at the right temperature so your coffee brews properly. Without it, your machine would overheat or stay too cold.
Inside the machine, the heating element connects using crimped connections. These are metal fittings pressed together, not soldered joints. This design makes replacement simple and safe. You can swap out a broken element without special welding skills.
Water flows directly over the heating element. This contact transfers heat to the water. Mineral deposits can build up on the element surface over time. These deposits create a barrier between the hot metal and the water. Your coffee stays cold even though the element gets hot underneath the buildup.
The heating element draws significant electrical power. Your machine’s power supply must be stable and consistent. If voltage drops or fluctuates, the element cannot heat properly. This is why checking your outlet comes first.
Understanding these parts helps you spot problems faster. You will know whether your issue is a broken element, a stuck thermostat, or just mineral buildup. Each problem has a different solution.
Signs Your Heating Element Is Not Working
When your coffee machine stops heating water properly, several clear signs point to a failing heating element. Learning to recognize these indicators helps you catch problems early.
The most obvious sign is cold water output. Your machine powers on normally, but the water that comes out stays lukewarm or completely cold. The pump runs fine, so water flows through the system. However, no heat reaches the water at all. This is the primary red flag that something is wrong with your heating element.
Pay attention to slow heating times as well. If your machine takes much longer than usual to brew, the element may be weakening. It still produces some heat, but not enough for normal operation. You might notice the water comes out warmer on the second or third brew cycle rather than the first.
Listen for unusual sounds too. A heating element that is failing sometimes makes clicking or popping noises. These sounds happen when electrical current struggles to flow through a damaged connection.
Check whether the machine powers on but stays silent. A working heating element hums slightly as electricity passes through it. Complete silence during the heating cycle suggests the element is broken.
You may also see inconsistent results. One cup brews hot while the next one stays cold. This points to a failing element that works intermittently rather than reliably.
Finally, inspect the water outlet for mineral buildup. White crusty deposits around the heating area often indicate mineral blockage rather than element failure. However, heavy deposits can damage the element over time.
These signs help you move forward with confidence. You now know what to look for before moving to the testing phase.
Safety Precautions Before You Begin
Before you open up your coffee machine, safety comes first. Electrical appliances can cause serious injury if you don’t take the right steps.
Always unplug the machine from the wall outlet. This is the most important rule. Even if the machine appears off, electricity can still flow through the heating element and other parts. Unplugging removes all power and protects you from electric shock.
Wait at least 15 to 20 minutes after unplugging. The heating element stays extremely hot even after the machine loses power. Touching it directly can burn your skin badly. Let it cool completely before you touch any internal parts.
Wear safety glasses if you have them. Small parts or mineral deposits can fly loose when you disassemble the machine. Your eyes need protection from these pieces.
Use a dry workspace. Water and electricity don’t mix. Keep your work area clear of spills and moisture. Dry your hands completely before handling any electrical components or tools.
Gather your tools before you start. You will need a multimeter to test the heating element, a screwdriver to open the machine, and possibly pliers for crimped connections. Having everything ready means you won’t need to search around while the machine sits open.
Never work on a wet machine. If water spilled inside, let it dry for several hours first. Moisture inside the machine creates shock hazards.
Keep children and pets away from your workspace. Loose parts and open electrical components pose dangers to anyone nearby. Set up in a quiet area where you won’t be interrupted.
These simple precautions keep you safe throughout the entire repair process. Safety makes the job easier and faster for everyone involved.
Step-by-Step Guide to Diagnosing the Problem
Start your diagnosis by checking the power supply first. Plug in your coffee machine and turn it on. Listen and watch carefully. If the machine powers on but produces no heat, you have a heating element problem. If nothing happens at all, the issue may be electrical rather than the element itself.
Next, unplug the machine and let it cool completely. Remove the base panel to access the heating element. Look for a metal coil or tube inside. Take photos before you remove anything. This helps you remember how parts connect.
Inspect the heating element closely for visible damage. Look for cracks, discoloration, or mineral buildup. White or brown crusty deposits mean mineral scale has clogged the element. This is actually good news because cleaning may solve your problem without replacement.
Use a multimeter to test for continuity. Set the multimeter to the ohms setting. Touch one probe to each end of the heating element. A reading near zero means the element works fine. Infinite resistance means the element has failed and needs replacement.
Check the thermostatic switch too. This small component regulates temperature and can fail independently. Look for a metal switch near the heating element. Test it with your multimeter as well.
Examine all wire connections around the heating element. Crimped connections sometimes loosen or corrode. Tighten any loose connections you find. Verify that all wires are clean and making solid contact.
Finally, inspect the water inlet tube. Blockages here can prevent water from reaching the heating element. Run water through the tube to check for clogs. This simple test often reveals the real problem before you spend time on other diagnostics.
How to Test the Heating Element with a Multimeter
A multimeter is your best friend when testing a heating element. This simple device measures electrical resistance and tells you if current flows through the element properly.
Start by setting your multimeter to the ohms setting. This measures resistance in the heating element. Turn the dial to the lowest ohms range available on your device.
Touch one probe to each terminal of the heating element. Make sure you have good contact with the metal parts. Hold the probes steady for a few seconds while you read the display.
A working heating element shows low resistance. You’ll see a number between 10 and 30 ohms on most coffee machines. The exact number varies by machine model, but any reading in this range means the element still works.
Infinite resistance means failure. If your multimeter shows “OL” or “infinity,” the heating element is broken. This reading tells you the element no longer conducts electricity. You cannot repair this with cleaning or adjustments.
Before you test, make absolutely sure the machine is unplugged. Never test a live heating element with a multimeter. Wait 20 minutes after unplugging to let the element cool completely.
Clean the probe tips on your multimeter before testing. Dirty probes give false readings. Wipe them with a dry cloth if they look corroded or dusty.
Take your time with this test. Rushing leads to incorrect readings. If you get an unclear result, test again. Move the probes slightly and repeat the measurement to confirm what you see.
This simple test eliminates guesswork. You’ll know exactly whether you need to replace the heating element or investigate other problems in your machine.
Cleaning Mineral Buildup and Clogs
Mineral buildup is one of the most common reasons your heating element stops working properly. Hard water leaves deposits inside the heating chamber over time. These deposits block water flow and reduce heat transfer to your coffee.
Start by identifying if mineral clogging is your actual problem. Run water through the machine without coffee grounds. Does water come out slowly or not at all? This points to a clog. Listen for gurgling sounds. These indicate trapped air from mineral blockages.
The best cleaning method uses a simple acid solution. Fill the water reservoir with equal parts white vinegar and water. Run this mixture through the machine slowly. Let it sit in the heating chamber for 15 to 20 minutes between runs. This breaks down calcium and mineral deposits naturally.
After vinegar cleaning, run plain water through the machine several times. You need to flush out all vinegar smell and taste. Continue running water until the smell disappears completely.
For stubborn buildup, you may need to repeat the vinegar process. Some machines require two or three cleaning cycles for heavy mineral deposits. Be patient with this step.
Never use harsh chemicals or abrasive scrubbing inside the heating chamber. You could damage the element permanently. Stick with vinegar solutions only.
After cleaning, test your heating element again with a multimeter. Sometimes clogs create false failure signals. The element works fine once water flows freely through it again. This simple cleaning often fixes heating problems without needing replacement parts at all.
Replacing a Faulty Heating Element
When your heating element fails, replacement becomes your best solution. This process is straightforward and saves money compared to professional repair services.
First, gather your tools. You’ll need a screwdriver set, a new heating element that matches your machine model, and a wrench if your machine uses one. Check your machine’s manual to find the exact part number. Most manufacturers sell replacement elements directly or through authorized dealers.
Start by unplugging your machine and letting it cool completely. This step prevents burns and electrical hazards. Remove the base panel or water reservoir to access the heating element. Take photos before disconnecting anything. This helps you remember how everything connects.
Next, locate the crimped connections holding the heating element in place. These are metal fittings pressed together, not soldered joints. Gently loosen these connections using your wrench. Some machines have screws instead. Remove these carefully and set them aside in a safe spot.
Slide the old heating element out of its position. Note how the water inlet and outlet tubes connect. This matters for proper installation of your new element.
Position your new heating element exactly where the old one sat. Reconnect the water tubes first. Make sure they sit firmly in their ports. Tighten the crimped connections by hand, then use your wrench for a final snug fit. Don’t overtighten, as this can damage the fittings.
Reattach the base panel. Fill the water reservoir and plug in your machine. Run water through without coffee grounds for several minutes. Check for leaks around the connections. If everything looks dry and your machine heats properly, your repair is complete. Most people finish this entire replacement in under 30 minutes.
Common Mistakes to Avoid During Repair
Many people rush through heating element repairs and make costly mistakes. Understanding what NOT to do saves you time, money, and frustration.
Never attempt to solder crimped connections. Coffee machines use crimped terminals, not soldered joints. Applying heat from a soldering iron damages the plastic housing and creates fire hazards. These connections exist for a reason. Simply replace the entire heating element instead. It’s faster and safer.
Skipping the cleaning step is another common error. Many people assume the heating element is broken when mineral deposits actually block water flow. Always clean your machine with vinegar solution before declaring the element faulty. Run plain water through multiple times afterward. This simple step often fixes the problem without any replacement needed.
Don’t skip the multimeter test. Testing seems optional, but it’s essential. Without proper testing, you might replace a perfectly good heating element while missing the real problem. A failed thermostatic switch or loose wire could be your actual issue. The multimeter takes five minutes and prevents wasted money.
Never work on a plugged in machine. Electrical shocks can cause serious injury. Always unplug first and wait for complete cooling. This protects both you and your equipment.
Ignoring voltage consistency is risky too. Inconsistent power supply can make a working element seem broken. Check your outlet with another device before replacing parts.
Don’t rush the reassembly process. Reconnect water tubes before reattaching the base panel. Improper assembly causes leaks that damage the machine further.
Take your time. Read your machine’s manual. Double check each step. These habits prevent expensive mistakes and extend your coffee machine’s life significantly.
Final Thoughts
Fixing a coffee machine heating element does not need to feel impossible. Most problems come down to two things. Mineral buildup or a worn out part.
Cleaning solves many issues right away. A simple vinegar rinse clears clogs and restores heat in minutes.
If cleaning does not work, replacement is your next step. A multimeter test tells you clearly if the element is broken.
Think about your machine’s value before you decide. Cheap machines may not be worth fixing. Mid range and higher end machines often are.
Replacement parts cost far less than buying a whole new machine. This makes repair a smart choice for many coffee lovers.
Remember the basics every time you work on your machine. Always unplug it first. Let it cool down completely before touching any parts.
Test connections carefully with your multimeter. Skipping this step leads to guesswork and wasted effort.
Avoid soldering crimped connections. This mistake damages your machine further and voids any chance of a clean fix.
Take your time during every step. Rushing causes mistakes that cost you more time and money later.
With patience and the right approach, you can bring your coffee machine back to life. Many heating element problems have simple solutions.
Regular cleaning prevents future issues too. Descale your machine often to avoid mineral buildup problems altogether.
Your coffee machine deserves proper care. A little maintenance now saves you from bigger headaches later.
Fixing this issue yourself builds confidence for future repairs. You save money and learn valuable skills along the way.
Enjoy your next cup of coffee knowing your machine works exactly as it should.
Frequently Asked Questions
How do I know if my heating element is actually broken?
Use a multimeter to test for continuity. Unplug your machine first and let it cool completely. Remove the base panel to access the heating element. Set your multimeter to the continuity or resistance setting. Touch the probes to both ends of the heating element. If the meter shows infinite resistance, your element is broken and needs replacement. If it shows low resistance, the element is still good.
Can I fix a heating element without replacing it?
Yes, sometimes cleaning solves the problem. Mineral deposits build up inside the heating chamber over time. These deposits block water flow and prevent proper heating. Mix equal parts white vinegar and water. Run this solution through your machine several times. Let it sit for 15 minutes between cycles. Rinse thoroughly with fresh water afterward. Test your machine again to see if heat returns.
Why is my machine powered on but producing no heat?
Several things could cause this issue. First, check your power supply voltage consistency. A weak power connection prevents the heating element from reaching full temperature. Second, verify that water actually flows through the machine. No water flow means no heating action occurs. Third, inspect your thermostatic switch. This switch regulates temperature and can fail over time.
Is it worth repairing my coffee machine?
This depends on your machine’s age and cost. Compare the replacement element price against buying a new machine entirely. For mid range machines, repairs usually make financial sense. Older or budget machines might not be worth the time investment. Factor in your repair skills and available tools too.

Hi, I’m Luna! I’m the voice behind CoffeePickster.com. I’m a coffee obsessive who’s spent way too many hours (and dollars) testing coffee makers so you don’t have to. I created this blog to help fellow coffee lovers find the right gear without the guesswork. Let’s brew something great together!