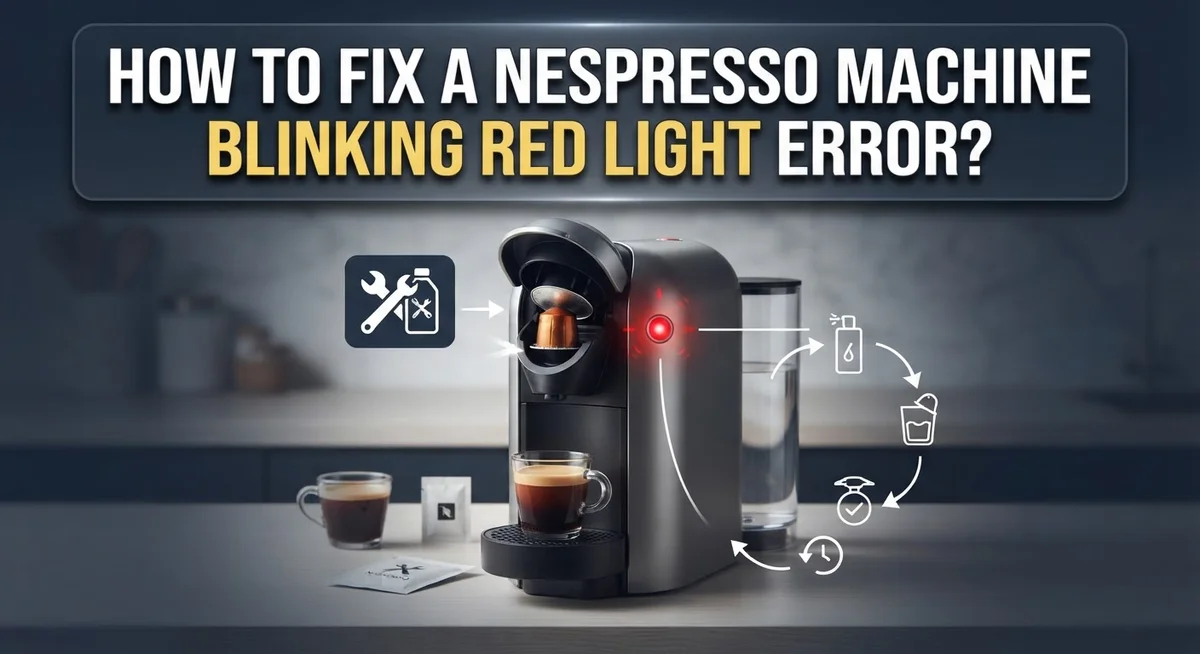
How To Fix A Nespresso Machine Blinking Red Light Error?
Your Nespresso machine sits quietly on the counter. You press the brew button. Instead of coffee, you see a blinking red light staring back at you.
This little warning light can feel confusing. It does not tell you exactly what went wrong. It just blinks, leaving you guessing.
The good news? Most blinking red light errors are easy to fix. You do not need a repair technician or a new machine. Often, the issue is something small like a stuck capsule, a loose lid, or mineral buildup inside the machine.
In this guide, we will walk you through simple steps to solve this problem. You will learn how to power cycle your machine correctly. We will show you how to check for hidden obstructions. You will also discover how to force a reset and when descaling might help.
In a Nutshell
Power cycle first. Unplug your machine for 15 to 30 seconds. Plug it back in and check if the light stops blinking.
Check for blockages. Remove any stuck capsules. Empty the used capsule container completely.
Close the lid properly. Make sure the brew head is shut all the way. A loose lid often triggers this error.
Try a force reset. Hold the brew button for about 7 seconds until the light changes or stops.
Run a descaling cycle. Mineral buildup can cause this issue. Use a proper descaling solution to clear it out.
Give it more time if needed. Some machines need to sit unplugged for up to two days to reset fully.
What Does the Blinking Red Light Mean?
A blinking red light on your Nespresso machine sends a specific message. This light tells you something needs attention right away.
The most common cause is a mechanical blockage inside the machine. A capsule may be stuck in the brew chamber. Coffee grounds or debris can jam the internal parts. The machine detects this problem and alerts you with the red blink.
Another frequent reason is an assembly issue. Your brew head or lid might not be fully closed. Even a slight gap prevents the machine from working properly. The sensor detects this and triggers the warning light.
Mineral buildup creates another common scenario. Hard water leaves deposits inside your machine over time. These minerals accumulate in the heating chamber and internal pipes. When buildup reaches a certain level, the machine blinks red to signal you need descaling.
The blinking pattern itself carries meaning on many models. A slow blink differs from rapid flashing. Slow blinks often indicate a simple blockage. Fast blinks usually mean a more serious issue like a heating problem or sensor malfunction.
Understanding your specific blink pattern helps you troubleshoot faster. Check your machine’s manual to see what your exact pattern means. Different Nespresso models use slightly different signals.
The key takeaway is this: a red blinking light is your machine’s way of asking for help. It is not broken permanently. The light simply indicates one of several fixable problems. Your machine wants you to remove the obstacle, close something properly, or clean out mineral deposits.
Recognizing what the light means empowers you to take action quickly and get back to making great coffee.
Understanding Different Blink Patterns by Model
Different Nespresso models communicate errors through distinct blink patterns. Your machine’s manual provides the specific code for your unit. Learning these patterns helps you diagnose problems faster.
Some machines use a single slow blink to indicate a capsule container issue. This means your used capsule bin is full or not inserted correctly. Other models employ rapid blinking to signal a mechanical obstruction inside the brewing chamber.
Fast blinking often means something is stuck. Check for capsule fragments or debris blocking the needle. Slow, steady blinks typically point to assembly problems like an improperly closed lid or brew head.
The frequency of blinks matters more than you might think. A blink every two seconds differs from five blinks per second. Each pattern tells a different story about what your machine needs.
Some newer models use a combination pattern. The light might blink three times, pause, then blink twice. This specific sequence indicates a particular error state unique to that model line.
Your machine’s manual is your best friend here. It contains a chart showing exactly what each pattern means. If you cannot find your manual, Nespresso support can explain your specific model’s code system.
Temperature issues sometimes create their own blink patterns on advanced models. The machine may blink to show it is heating up or cooling down after a malfunction.
Understanding your model’s language removes the guesswork. You will know immediately whether to clean, reset, or seek professional help. This knowledge saves time and frustration when your machine acts up.
Step-by-Step: Power Cycling Your Machine
Power cycling is often the fastest way to clear a red blinking light error. This simple reset tells your machine to restart its internal systems and clear temporary glitches.
Start by unplugging your Nespresso machine from the wall outlet. Wait for 15 to 30 seconds while the machine sits completely powered down. This pause allows the internal circuits to fully discharge and reset their memory. During this time, any temporary error signals stored in the system will clear out.
After the waiting period, plug the machine back into the outlet. The lights may flash or behave differently as the machine powers up. This is normal and expected. Let it complete its startup sequence without pressing any buttons.
Once the machine finishes starting up, check if the red light has stopped blinking. Many users find success with this basic power cycle alone. If the light persists, you have gained useful information: the error is likely not a temporary software glitch but something physical.
For stubborn cases, try leaving the machine unplugged for a longer period. Some Nespresso models need 2 to 4 hours or even up to two days to fully reset. This extended downtime helps clear more complex error states that a quick 30 second reset cannot address.
Important tip: avoid pressing any buttons while the machine is unplugged. This prevents accidental commands from being stored in the system. Simply let it rest in its powered down state.
After plugging back in, observe the light behavior carefully. Note whether it blinks slowly, rapidly, or in a specific pattern. This information helps identify what triggered the error in the first place.
Checking for Obstructions and Capsule Issues
A stuck capsule or debris inside your machine is one of the most common reasons for a red blinking light. Start by checking the capsule container. Remove it completely and empty any used capsules or coffee grounds that may have accumulated.
Next, look inside the machine’s brewing chamber. Capsule fragments or leftover pieces can block the needle and trigger the error. Shine a flashlight into the area to see clearly. If you spot any debris, use a small brush or cloth to gently remove it.
Check the head of your machine where capsules insert. Make sure no broken capsule pieces are lodged inside. Sometimes a capsule doesn’t puncture correctly and leaves fragments behind. These fragments prevent the machine from closing properly and cause the blinking red light.
Inspect the lid and head assembly carefully. The lid must close completely and sit flush against the machine. If the lid doesn’t click into place, something is blocking it. Remove any visible obstructions and try closing it again.
Don’t ignore a full capsule container. Many Nespresso machines blink red when the used capsule bin is full. Empty the container completely, even if it doesn’t look completely full. Residual moisture or compressed capsules can trigger the sensor.
After removing obstructions, do a test run. Insert a fresh capsule and try brewing. Watch how the lid closes. It should fit snugly without gaps.
If the red light persists after clearing obstructions, the issue may be internal mineral buildup or a mechanical problem. Move forward with a power cycle or descaling cycle. These steps often resolve errors that simple cleaning doesn’t fix.
How to Perform a Force Reset
A force reset goes deeper than a simple power cycle. This method clears your machine’s internal memory and resets all systems to factory settings.
Start by unplugging your Nespresso machine from the wall outlet. Wait at least 15 to 30 seconds. This gives the internal circuits time to fully discharge.
Plug the machine back in. Let it complete its startup sequence without pressing any buttons. Wait another 30 seconds after you see the initial light response.
Now locate your brew button. This is the main button you use to make coffee. Press and hold this button for exactly 7 seconds. You should see the red light respond during this time.
The light may blink faster or change behavior. This is normal. Keep holding the button until the light stops blinking completely or changes to a steady state. Release the button and wait 10 seconds.
Your machine should now restart with a fresh system state. The red light error should be gone.
If the error returns immediately, the problem is likely not a software glitch. Instead, you may have mineral buildup, a stuck component, or a mechanical issue that needs attention.
For stubborn errors, try leaving your machine unplugged for up to 2 days. This extended reset works for some models when a standard force reset fails.
After completing a force reset, run a test cycle. Insert a capsule and press the brew button once. If your machine operates normally and the light stays off, the reset worked.
Contact Nespresso support if the red light returns after a force reset and extended rest period. Your machine may need professional service or replacement.
Descaling to Resolve Mineral Buildup Errors
Mineral buildup inside your Nespresso machine is a common cause of red blinking lights. Over time, minerals from water accumulate in internal pipes and heating elements. This blockage restricts water flow and triggers the error signal.
Descaling removes these mineral deposits and restores normal function. Most Nespresso machines need descaling every three months, though frequency depends on your water hardness. Hard water areas may require more frequent cleaning.
Start by preparing your machine. Empty the capsule container completely. Remove any used capsules from the brewing chamber. Place a large cup or container under the coffee outlet to catch liquid.
Next, activate the descaling mode. The exact method varies by model, but typically you press the brew button multiple times within a few seconds. Check your machine’s manual for the specific button sequence. The light pattern will change once descaling mode activates.
Pour descaling solution into the water tank. Fill it to the maximum line. Run the solution through your machine slowly. Let it flow into your collection container. This process takes several minutes.
After the solution finishes, empty your collection container. Refill the water tank with fresh water only. Run clean water through the machine to rinse away remaining descaling solution. Repeat the rinsing cycle at least twice.
Complete the full descaling process before testing your machine. Incomplete descaling leaves mineral deposits behind and the red light may return quickly.
Once finished, run a test cycle with a capsule. The red blinking light should stop. If it persists after descaling, contact Nespresso support for further assistance.
Common Mistakes That Prevent a Fix
Many people make simple mistakes when trying to fix their Nespresso machine’s red blinking light. These errors often prevent the machine from working again, even though the fix is straightforward.
Not waiting long enough during a power cycle is a frequent mistake. You unplug the machine, wait just 5 seconds, and plug it back in. This doesn’t give the internal systems enough time to fully reset. Always wait at least 15 to 30 seconds before reconnecting power.
Another common error is not checking the capsule container thoroughly. People assume the container has space, but a full capsule container can trigger the red light. Empty it completely before attempting any fixes.
Many users also skip the force reset entirely and jump straight to descaling. A force reset is different from a simple power cycle. It clears deeper system errors that a basic restart cannot fix. This step should come before descaling attempts.
Incomplete lid closure causes red blinking lights more often than people realize. The lid must click fully into place. A partially closed lid tricks the machine into thinking something is wrong. Always listen for that satisfying click sound.
People often ignore regular cleaning of the nozzle and brewing chamber. Debris builds up over time and blocks water flow. This triggers error lights even when no major problem exists. Quick weekly cleaning prevents many issues.
Finally, rushing through descaling leaves mineral deposits behind. The full descaling cycle must complete without interruption. Stopping early or skipping steps means minerals remain inside. This causes the red light to return quickly.
Taking your time with each step and following the correct sequence prevents frustration and gets your machine working again faster.
When to Contact Nespresso Support
If you have tried all the basic fixes and your machine still shows a red blinking light, it’s time to reach out to Nespresso support. Professional help becomes necessary when the error persists despite your best efforts.
Contact support if the red light returns immediately after a force reset. This suggests an internal mechanical problem that requires expert diagnosis. Support staff can determine whether your machine needs repair or replacement.
You should also call support if you notice unusual sounds coming from your machine. Strange noises combined with red blinking indicate potential internal damage. Continuing to use the machine could make the problem worse.
Reach out to support if the blinking pattern changes or becomes erratic. Different blink patterns mean different error codes. Support can decode these patterns and recommend next steps based on your specific machine model.
If descaling and cleaning don’t resolve the issue within two attempts, contact support. Repeated failures suggest a problem beyond mineral buildup. Support has access to diagnostic tools you don’t have at home.
Document what you’ve already tried before calling. Write down the exact blink pattern, when the error started, and which troubleshooting steps you completed. This information helps support staff work faster and more accurately.
Have your machine’s serial number ready. You’ll find it on the bottom or back of your machine. Support uses this number to access your specific model’s technical details.
Be prepared to describe how the machine behaves. Does it blink continuously or in intervals? Does it stop blinking during certain actions? These details matter for accurate diagnosis.
Support representatives can authorize repairs or replacements if your machine is still under warranty. They may also provide specific guidance for your machine model that differs from general troubleshooting steps.
Final Thoughts
A blinking red light does not mean your machine is broken. In most cases, it points to a simple fix you can do at home.
Start with the basics. Unplug your machine and check for obstructions. These two steps solve many problems quickly.
If that does not work, try a force reset. Hold the brew button for the right amount of time. This clears minor glitches in the system.
Descaling often fixes issues that power cycling cannot. Mineral buildup affects how your machine senses water flow. A full descaling cycle usually restores normal function.
Patience matters throughout this process. Rushing through steps or skipping parts of the process leads to repeat errors. Take your time with each fix before moving to the next one.
Remember the common mistakes covered earlier. Avoid short power cycles. Do not skip checking your capsule container.
Small details make a big difference. A lid that is not fully closed can trigger the same red light as a bigger issue. Always double check these simple things first.
Most Nespresso owners fix this problem without any tools or outside help. The steps are simple and do not take much time. Following the process in order gives you the best results.
If your machine still blinks red after trying everything, professional support is your next step. Nespresso’s team can guide you through more advanced fixes. They can also arrange repairs if needed.
Your Nespresso machine is built to last with proper care. Regular cleaning and descaling prevent most red light errors from happening again. A little maintenance now saves you time and frustration later.
Trust the process, stay calm, and your machine will likely be brewing again soon.
Frequently Asked Questions
Why is my Nespresso machine blinking red?
A red blinking light means your machine detected a problem. The most common causes are a stuck capsule, mineral buildup inside the machine, or an incomplete lid closure. Sometimes the capsule container is simply full. The blinking pattern itself can tell you what went wrong, though patterns vary by model.
How do I fix a red blinking light quickly?
Start by unplugging your machine for 15 to 30 seconds, then plug it back in. While it powers up, check inside for any stuck capsules or debris. Make sure the lid closes completely and the capsule container isn’t full. Empty the container if needed. This simple power cycle fixes most red light issues.
What is a force reset and how do I do it?
A force reset clears error codes from your machine’s memory. Hold down the brew button for about 7 seconds until the light stops blinking. Release the button and wait a moment. Your machine should respond normally. If the red light returns immediately, move on to descaling or contact support.
When should I try descaling?
Descaling removes mineral deposits that build up over time. If power cycling and obstruction checks don’t work, descaling is your next step. Use the proper descaling solution designed for your machine. Run the full descaling cycle according to your manual’s instructions. This resolves mineral related errors in most cases.
What if nothing works?
If you’ve tried power cycling, checked for obstructions, performed a force reset, and descaled your machine without success, contact Nespresso support. Have your machine’s serial number ready and describe exactly what happened.

Hi, I’m Luna! I’m the voice behind CoffeePickster.com. I’m a coffee obsessive who’s spent way too many hours (and dollars) testing coffee makers so you don’t have to. I created this blog to help fellow coffee lovers find the right gear without the guesswork. Let’s brew something great together!