How to Fix the Valve on a Travel Press Mug That Won’t Seal?
You grab your travel press mug, fill it with fresh coffee, screw the lid on, and toss it into your bag. A few minutes later, your bag is soaked. The valve on your travel press mug will not seal, and your morning routine just turned into a mess.
This is one of the most frustrating problems for anyone who relies on a travel press mug for daily coffee. The valve is a small part, but it controls everything. It keeps your drink inside the mug. It prevents leaks during your commute. It also plays a role in the press mechanism that separates grounds from your brew. When that valve fails, the entire mug becomes useless.
The good news? Most valve seal failures are fixable at home. You do not need special tools. You do not need professional help. In most cases, the problem comes down to a dirty gasket, a warped seal, a misaligned lid, or a worn part that needs a simple replacement.
This guide walks you through every possible cause and gives you clear, practical steps to restore your travel press mug to full working order.
Key Takeaways
- Coffee residue and mineral buildup are the most common reasons a travel press mug valve stops sealing. A thorough cleaning with warm water and mild dish soap fixes the issue in most cases.
- The silicone gasket inside the lid is the primary seal component. If it is stretched, cracked, or warped, it cannot create the tight fit needed to prevent leaks. Inspect it regularly and replace it when you see visible damage.
- Misalignment between the lid and the mug body causes many seal failures. Cross threading or debris stuck on the rim prevents the lid from sitting flush. Always clean the rim and thread the lid on straight before tightening.
- Hot beverages create internal pressure that can push liquid past a weak or damaged valve. Allowing your drink to cool for 30 seconds before sealing and opening the drink valve briefly to release steam both reduce pressure related leaks.
- Replacement gaskets and valve parts are available for most popular travel press mug brands. Check the manufacturer’s website for compatible parts before attempting a DIY gasket fix.
- A weekly deep clean with white vinegar or baking soda prevents the slow buildup of oils and minerals that gradually degrade valve performance over time.
Understanding How the Travel Press Mug Valve Works
Before you can fix a valve that will not seal, it helps to understand what the valve actually does. A travel press mug combines two functions into one vessel. It works as a French press coffee brewer and as a sealed travel mug you can carry without spills.
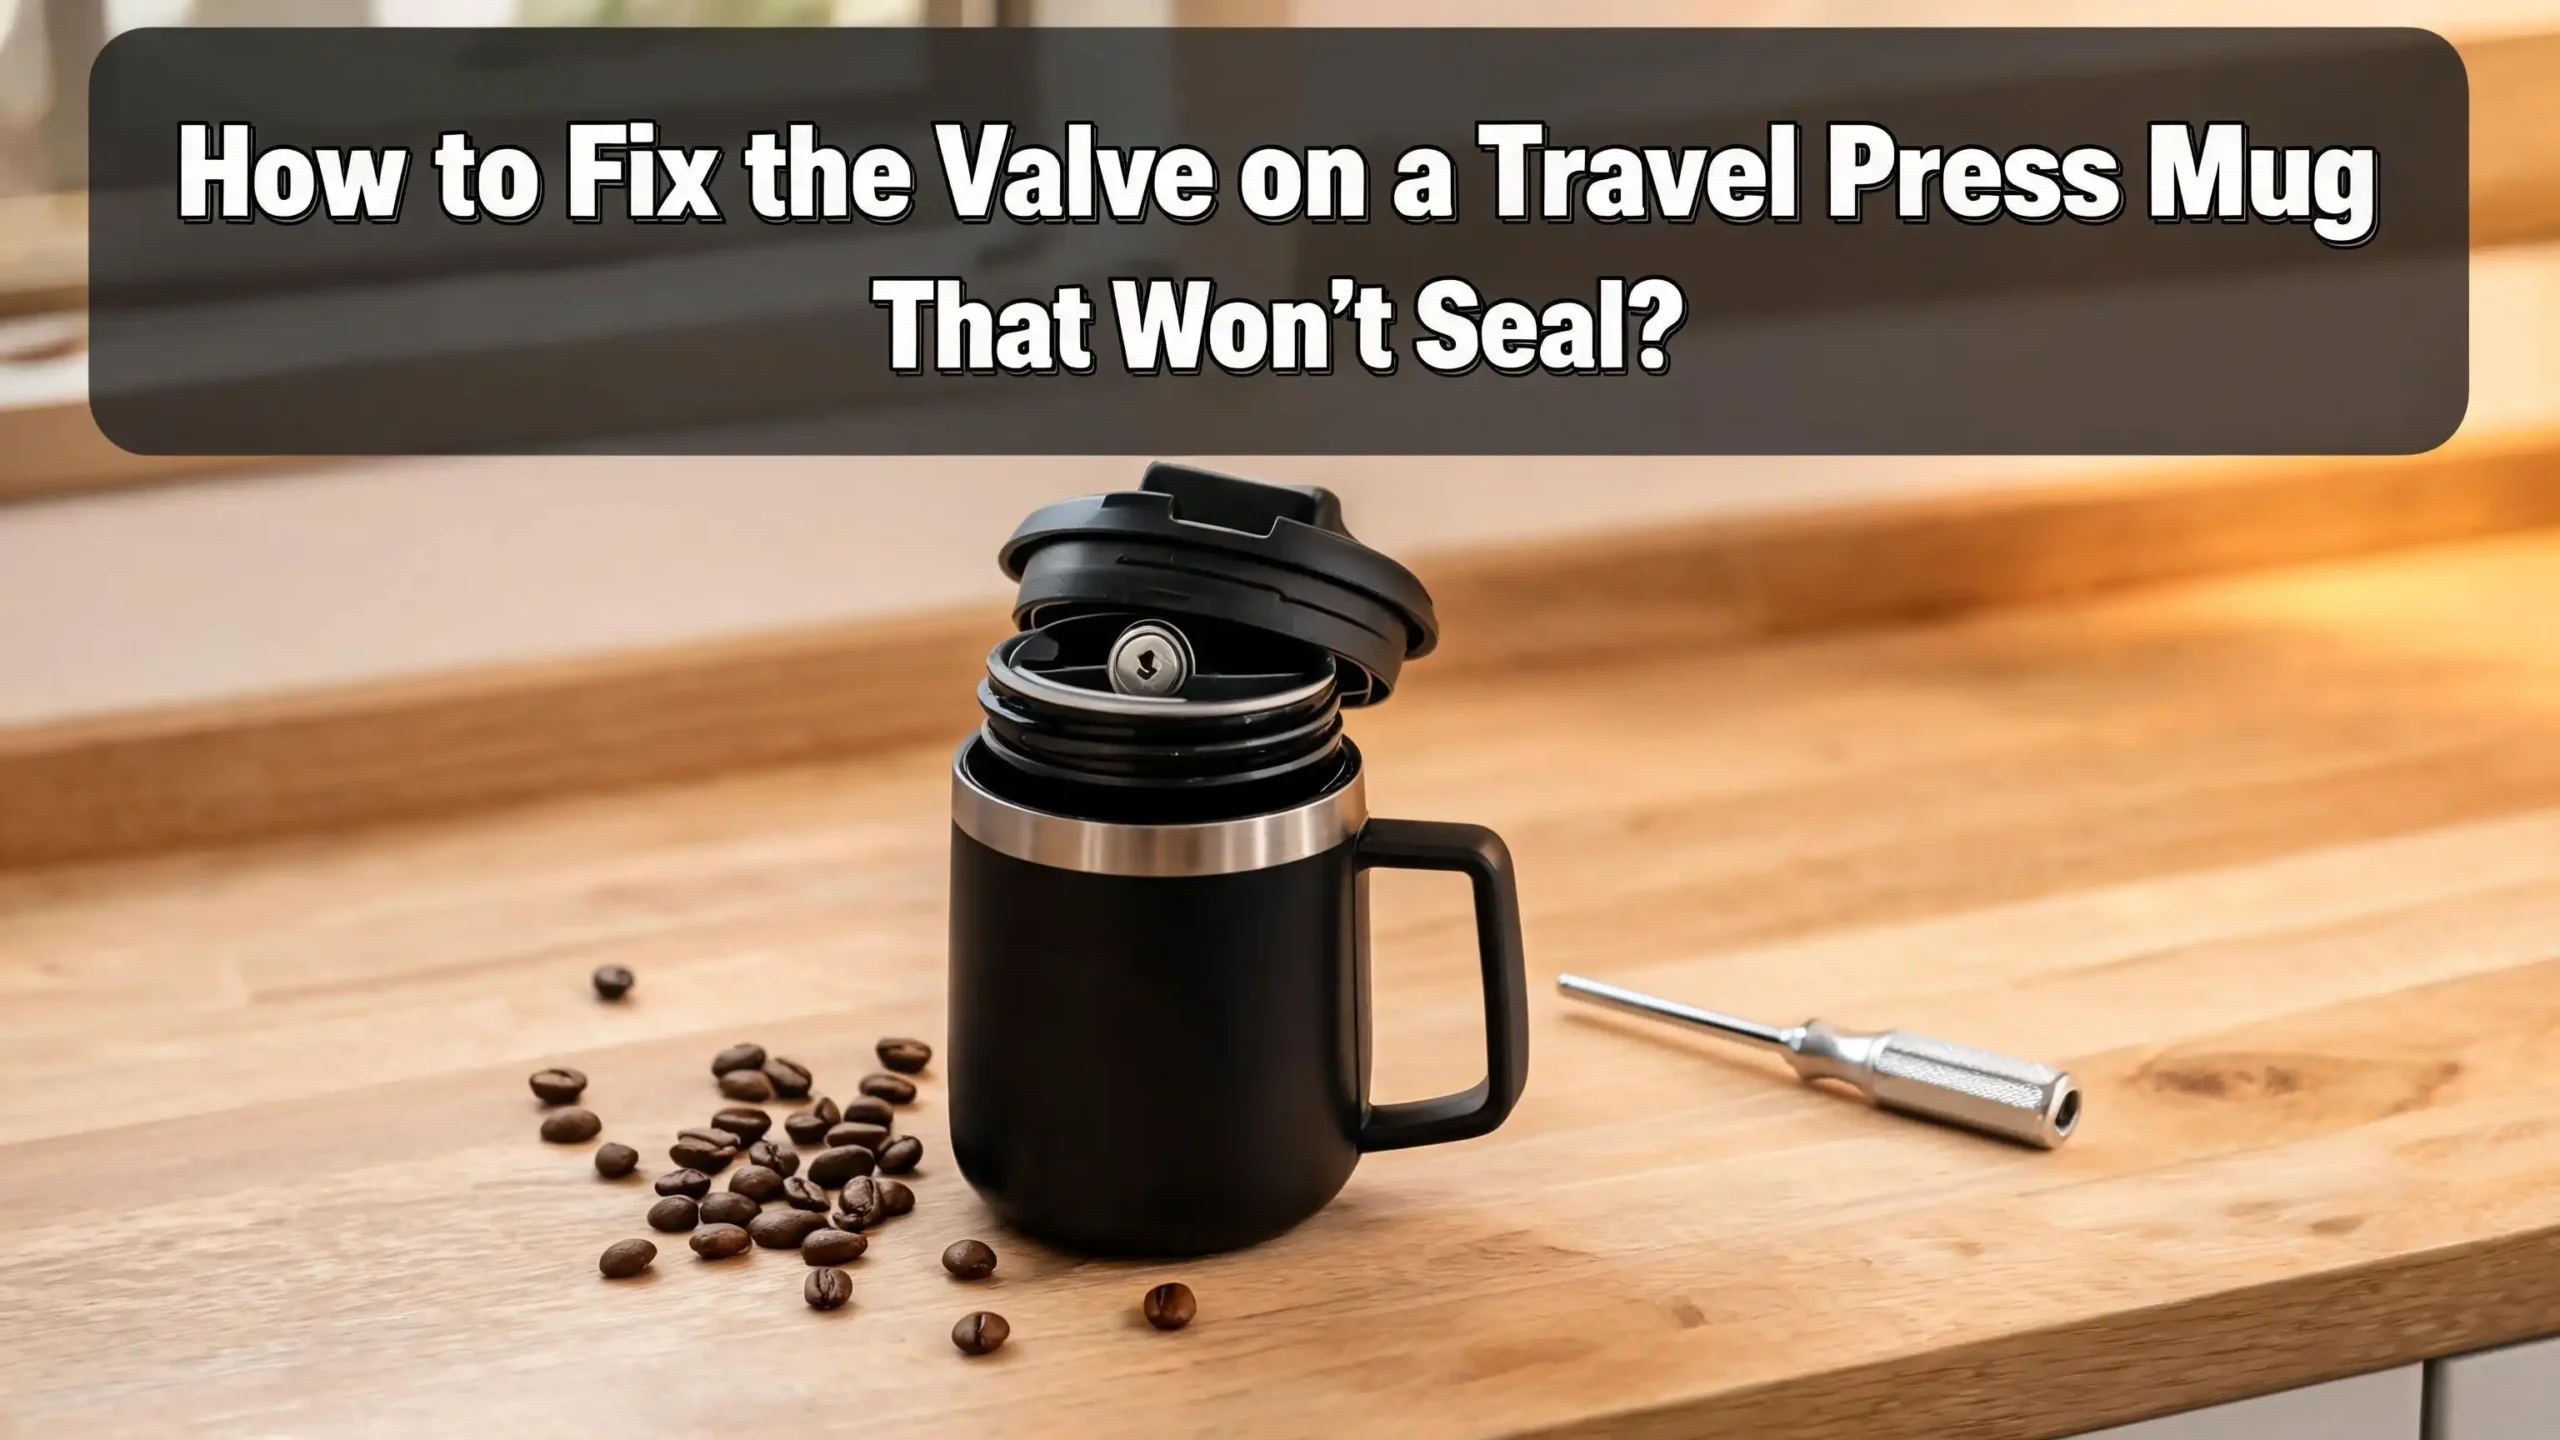
The valve system sits inside the lid assembly. Most travel press mugs have a drink valve that opens and closes to let you sip, and a seal mechanism that keeps the lid locked against the mug body. The seal mechanism typically includes a silicone or rubber gasket that rings the inside of the lid. This gasket presses against the rim of the mug when the lid is screwed on or snapped into place.
The plunger assembly also passes through the lid. This adds another potential leak point because the plunger rod must slide freely while the seal around it stays tight. Some models use a secondary O ring around the plunger shaft to prevent drips from escaping through the top.
When any of these components fail, coffee leaks out. The drink valve might not close all the way. The main gasket might not compress against the rim. Or the plunger seal might let liquid seep up and out. Identifying which part of the valve system is failing is the first step to a lasting fix.
Identifying Common Causes of Valve Seal Failure
Several problems cause a travel press mug valve to lose its seal. Knowing the cause saves you time because each problem has a different fix. Here are the most frequent culprits.
Coffee oil and residue buildup is the number one cause. Coffee produces natural oils that coat every surface they touch. Over time, these oils collect on the gasket, the valve flap, and the mug rim. This layer of residue prevents the gasket from making clean contact with the rim. The seal feels tight, but tiny gaps let liquid through.
Mineral deposits from hard water are another major factor. Calcium and magnesium from tap water leave a white, crusty film on metal and silicone surfaces. This film creates an uneven surface on the rim or gasket, which breaks the seal.
A warped or stretched silicone gasket is common in mugs that go through the dishwasher often. High heat can permanently deform the gasket. Once the gasket loses its original shape, it cannot create the compression needed for a tight seal.
Cross threading the lid is a simple but overlooked problem. If you screw the lid on at an angle, the threads do not align. The lid feels secure but does not pull the gasket down evenly against the rim. This creates an uneven seal that leaks on one side.
Finally, physical damage to the valve flap or drink spout can prevent proper closure. A cracked valve flap or a bent spout mechanism will not return to its closed position, leaving a gap for liquid to escape.
Cleaning the Valve and Gasket to Restore the Seal
A thorough cleaning solves the majority of valve seal problems. Coffee residue, dried grounds, and mineral deposits are invisible to the eye at first, but they accumulate fast. Even a thin layer of buildup is enough to break the seal.
Start by disassembling the lid completely. Remove the silicone gasket from the lid. Most gaskets pull out by hand or with the help of a thin, blunt tool like a butter knife. Take apart the drink valve if your model allows it. Some travel press mugs have a valve flap that pops out for cleaning.
Soak all the lid components in a bowl of warm water with a few drops of mild dish soap for 10 minutes. This softens dried coffee oils and loosens stuck particles. After soaking, use a soft brush or an old toothbrush to scrub the gasket, the valve, and the inside of the lid. Pay special attention to the groove where the gasket sits because trapped grounds often hide there.
Clean the rim of the mug body as well. Wipe it with a damp cloth to remove any residue or dried coffee. Run your finger around the rim to feel for rough spots or stuck particles.
Rinse everything under running water to remove all soap. Let the parts air dry completely before reassembling. Moisture trapped between the gasket and the lid can cause the gasket to slide out of position. Once everything is dry, press the gasket firmly back into its groove and screw the lid on to test the seal.
Deep Cleaning with Vinegar or Baking Soda
If a regular soap wash does not restore the seal, a deep clean is the next step. Coffee oils polymerize over time and bond to surfaces. Standard dish soap sometimes cannot break through this hardened layer. White vinegar and baking soda are safe, effective solutions for dissolving stubborn buildup.
For the vinegar method, mix equal parts white distilled vinegar and warm water in a bowl. Submerge the gasket, valve, and lid components in this solution. Let them soak for 30 minutes. The acetic acid in vinegar dissolves both coffee oil residue and mineral deposits from hard water. After soaking, scrub the parts with a soft brush and rinse well.
For the baking soda method, make a paste by mixing two tablespoons of baking soda with a small amount of water. Apply this paste directly to the gasket and valve surfaces. Let it sit for 15 minutes. The mild abrasive quality of baking soda lifts stuck residue without scratching silicone or plastic surfaces. Scrub gently and rinse.
You can also deep clean the mug body itself. Pour half a cup of vinegar into the mug, add a teaspoon of baking soda, and let the mixture foam. Place the lid on and shake gently. This cleans the interior walls and the rim simultaneously. Pour out the mixture, rinse, and dry.
Make deep cleaning a weekly habit if you use your travel press mug every day. This prevents the slow accumulation of residue that gradually weakens the seal over weeks and months.
Inspecting and Replacing a Worn Silicone Gasket
The silicone gasket is the most important part of the seal system. It is also the part that wears out fastest. If cleaning does not fix your leak, the gasket is the next thing to check.
Remove the gasket from the lid and examine it closely. Look for cracks, tears, or thin spots. Check if the gasket has become permanently compressed on one side. This happens when the lid stays screwed on tightly for long periods. A compressed gasket cannot spring back to fill the gap between the lid and the rim.
Test the gasket’s flexibility by pressing it between your fingers. A healthy silicone gasket should feel soft and spring back instantly. If it feels stiff, hard, or stays dented after you press it, the silicone has degraded. Exposure to heat, coffee acids, and UV light all cause silicone to lose its elasticity over time.
Check the gasket’s fit in the lid groove. Place it back in position and run your finger around the entire ring. The gasket should sit flush with no sections popping up or bunching. If the gasket has stretched and no longer fits snugly in the groove, it will shift during use and create leak points.
Replacement gaskets are available for most popular travel press mug brands. Check the manufacturer’s website or contact their customer service. If you cannot find an exact match, measure the inner diameter, outer diameter, and thickness of your gasket. Generic food grade silicone O rings in the correct size work as a substitute in many cases.
Fixing a Misaligned or Cross Threaded Lid
A lid that goes on crooked will never seal properly. Cross threading is one of the simplest problems to fix, but many people do not realize it is happening. The lid feels snug, yet coffee drips out from one side.
Cross threading occurs when the lid threads do not catch the mug threads at the correct starting point. Instead of spiraling smoothly, the threads grind against each other at an angle. This pulls the lid down unevenly so the gasket compresses tightly on one side and barely touches on the other.
To fix this, unscrew the lid completely. Clean both the lid threads and the mug threads. Dried coffee grounds often get trapped in thread grooves, which prevents proper alignment. Use a damp cloth or a toothbrush to clear out any debris.
Place the lid on the mug and turn it backwards (counterclockwise) slowly until you feel the threads click into their starting position. You will feel a slight drop as the threads align. Now turn the lid clockwise with gentle, even pressure. The lid should spin on smoothly without resistance or grinding.
If the threads feel rough or the lid catches repeatedly, inspect both the lid and mug threads for damage. Stripped or bent threads cannot be fixed easily. If the threads are damaged, contact the manufacturer about a replacement lid. Do not force a stripped lid on because it will worsen the damage and guarantee a poor seal.
Dealing with Pressure Buildup from Hot Beverages
Hot liquids create steam inside a sealed travel press mug. That steam increases the internal pressure. If the valve or gasket is even slightly weak, this pressure pushes liquid out through the smallest gap.
This is why many people notice their mug seals fine with cold water but leaks with hot coffee. The heat expands the air inside the mug and generates steam that presses outward against the lid, the valve, and the gasket. A perfect seal handles this pressure without issue. A compromised seal fails under the extra force.
You can reduce pressure buildup with a simple habit. After pouring hot coffee into your mug, wait 30 seconds before screwing the lid on tightly. This lets the initial burst of steam escape. Some travel press mugs also have a small vent hole in the lid. Make sure this vent is not clogged with dried coffee. A blocked vent forces all the pressure against the main seal.
Another technique is to briefly open the drink valve after sealing the mug. This releases trapped steam and equalizes the pressure inside. Close the valve again and your mug is ready for transport. Repeating this release step once or twice during the first few minutes prevents pressure from building to a level that forces liquid past the seal.
If your mug consistently leaks only with hot drinks, pressure is almost certainly the cause. Combine the pressure release technique with a clean, properly seated gasket for the best results.
Fixing the Drink Valve That Won’t Close Fully
The drink valve is the small mechanism on the lid that you open to sip and close to seal. On some travel press mugs, this is a sliding tab. On others, it is a push button or a flip spout. If this valve does not return to its fully closed position, your mug will drip.
Start by examining the valve mechanism. Open and close it several times. It should move smoothly and snap or slide firmly into the closed position. If it feels sticky, loose, or stops short of closing, residue is likely the cause.
Remove the valve from the lid if your model allows disassembly. Soak it in warm soapy water for 10 minutes. Scrub the moving parts with a small brush. Coffee grounds and dried milk are common culprits that jam the valve in a partially open position. Rinse thoroughly and test the movement again.
If the valve still does not close after cleaning, inspect it for physical damage. A cracked plastic tab or a bent metal spring cannot be repaired. Contact the manufacturer for a replacement valve or lid. Many brands sell individual lid components as spare parts.
For push button valves, check if the internal spring has lost its tension. Press the button and watch if it returns fully. A weak spring allows the valve to drift open during movement. Some users have had success placing a tiny piece of food grade silicone behind the spring to add pressure, but this is a temporary fix. A replacement valve is the long term solution.
Reseating a Plunger That Causes Leaks
The plunger on a travel press mug passes through the lid and extends down into the mug body. A seal around the plunger shaft prevents liquid from traveling up through the lid. If this plunger seal fails, coffee seeps out around the plunger rod.
Remove the plunger from the lid. On most models, you unscrew the top knob or handle to separate the plunger rod from the lid. Check the small O ring or silicone washer that sits where the rod passes through the lid. This part takes constant friction every time you press the plunger down.
Look for signs of wear. The O ring might be flattened, cracked, or missing entirely. If the O ring has lost its round cross section and looks flat or oval, it can no longer seal the gap around the rod. Replace it with a food grade silicone O ring of the same dimensions.
Also check the plunger filter at the bottom of the rod. A loose or misaligned filter allows grounds to clog around the plunger shaft. These grounds then work their way up and interfere with the lid seal. Make sure the filter is screwed tightly onto the plunger rod and that the filter mesh is intact.
Reassemble the plunger and push it through the lid. It should slide smoothly with slight resistance from the seal. If there is no resistance at all, the seal is too loose. If it is very hard to push, the O ring might be too thick. Aim for a snug fit that allows movement but maintains contact all the way around the rod.
When to Use Food Grade Silicone Sealant for a DIY Fix
Sometimes you cannot find an exact replacement gasket for your travel press mug. The brand might be discontinued. The model might be old. In these cases, food grade silicone sealant offers a DIY option to create a custom gasket.
Food grade silicone sealant is safe for contact with food and beverages after it fully cures. It remains flexible, withstands heat, and resists coffee acids. You can find it at hardware stores or online.
Here is the process. Remove the old gasket and clean the lid groove thoroughly. Apply a thin, even bead of food grade silicone sealant into the groove. Use a caulking tool or your finger dipped in soapy water to smooth the bead evenly around the entire ring. The goal is a uniform layer with no gaps or thick spots.
Before the silicone cures, apply a thin coat of petroleum jelly or mineral oil to the mug rim. This acts as a mold release agent. Lightly screw the lid onto the mug so the silicone shapes itself against the rim. Do not tighten fully. You want just enough contact for the silicone to take the shape of the rim without bonding to it.
Let the silicone cure for the time specified on the product label, usually 24 hours. Unscrew the lid, wash off the petroleum jelly, and clean the mug. The new silicone gasket should now match the exact contour of your mug rim.
This method works best as a last resort. A factory replacement gasket will always provide a more reliable and consistent seal. But for a beloved mug with no available parts, a DIY silicone gasket can extend its useful life significantly.
Preventing Future Valve Seal Problems
Prevention is easier than repair. A few simple habits keep your travel press mug sealing properly for years. Most seal failures develop gradually from neglect, not sudden damage.
Wash the lid and valve after every use. Do not let coffee sit in the mug for hours after you finish drinking. The longer residue sits on the gasket and valve, the harder it bonds to the surface. A quick rinse immediately after use takes 30 seconds and prevents days of buildup.
Store the mug with the lid off or loosely placed on top. Leaving the lid tightly sealed during storage keeps the gasket compressed around the clock. Over time, this constant compression causes the gasket to lose its ability to spring back. Storing with the lid off lets the gasket relax and maintain its shape.
Avoid putting the lid in the dishwasher unless the manufacturer says it is safe. High dishwasher temperatures can warp plastic lid components and degrade silicone gaskets faster than hand washing. Warm water and mild dish soap are gentler and equally effective.
Keep a spare gasket on hand. Gaskets are inexpensive and small enough to store in a kitchen drawer. When you notice the first signs of a weak seal, swap in a fresh gasket immediately. This prevents the frustration of a sudden leak when you are already running late.
Finally, inspect the valve and gasket once a month. Look for discoloration, stiffness, cracks, or changes in shape. Catching a problem early means a simple cleaning or gasket swap instead of dealing with a full leak in your bag.
Troubleshooting Checklist: Quick Reference for Valve Seal Issues
When your travel press mug leaks, run through this checklist in order. Each step eliminates a possible cause and brings you closer to the fix.
Step one: Clean everything. Disassemble the lid, remove the gasket, and wash all components in warm soapy water. Scrub the mug rim. Dry all parts. Reassemble and test. This alone fixes most leaks.
Step two: Check the gasket. Remove it and inspect for cracks, stiffness, or permanent compression. If the gasket looks damaged, replace it. If it looks fine, reseat it firmly in the groove and test again.
Step three: Verify lid alignment. Unscrew the lid and screw it back on slowly. Turn counterclockwise first until the threads catch, then turn clockwise. The lid should go on smoothly without any grinding or uneven resistance.
Step four: Test with cold water. Fill the mug with cold water, seal the lid, and turn it upside down over a sink. If it leaks, the issue is the gasket or lid. If it holds, the issue is pressure related, and you need to manage steam from hot drinks.
Step five: Inspect the drink valve. Open and close it several times. Clean any sticky residue. Make sure it clicks or slides firmly into the closed position.
Step six: Check the plunger seal. Remove the plunger, inspect the O ring, and replace it if worn. Reassemble and test.
If all six steps fail to fix the leak, the lid or valve mechanism itself may have structural damage. Contact the manufacturer for replacement parts. Most brands offer spare lids and components at a reasonable cost.
Frequently Asked Questions
Why does my travel press mug only leak when I carry it in my bag?
Movement and angle changes put stress on the seal that upright placement does not. A weak gasket or partially closed valve may hold when the mug sits still but fails when jostled. Clean the valve, inspect the gasket, and make sure the lid is fully tightened before placing the mug in your bag.
Can I use any silicone gasket as a replacement for my travel press mug?
You need a food grade silicone gasket that matches the dimensions of the original. Measure the inner diameter, outer diameter, and thickness of your old gasket. Generic food grade silicone O rings in the correct size work for many models. Always confirm the replacement is rated for food contact and high temperatures.
How often should I replace the gasket on my travel press mug?
Most manufacturers recommend replacing the silicone gasket every three to six months with daily use. However, the actual timeline depends on how well you maintain it. Regular cleaning and proper storage can extend gasket life. Replace it immediately if you see visible cracks, permanent deformation, or stiffness.
Why does my travel press mug seal fine with cold water but leak with hot coffee?
Hot beverages produce steam that increases pressure inside the sealed mug. This extra pressure pushes liquid past a weak or slightly damaged seal. Let your coffee cool for 30 seconds before sealing the lid, and briefly open the drink valve to release trapped steam before carrying the mug.
Is it safe to use food grade silicone sealant to make a DIY gasket?
Yes, as long as the sealant is clearly labeled food grade and you let it cure completely according to the manufacturer’s instructions. Do not use standard bathroom or kitchen silicone caulk because it contains chemicals not approved for food contact. After full curing, food grade silicone is inert, heat resistant, and safe for beverage use.
Can I fix a cracked plastic valve on my travel press mug lid?
A cracked plastic valve is difficult to repair reliably. Glue and tape do not hold up to heat, moisture, and repeated use. The safest solution is to replace the entire lid or the valve component. Check the manufacturer’s website for spare parts or contact their customer support for ordering options.

Hi, I’m Luna! I’m the voice behind CoffeePickster.com. I’m a coffee obsessive who’s spent way too many hours (and dollars) testing coffee makers so you don’t have to. I created this blog to help fellow coffee lovers find the right gear without the guesswork. Let’s brew something great together!